This post may contain affiliate links. Please read our disclosure policy.
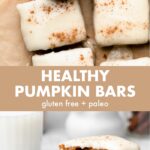
A healthy twist on a classic fall treat, these healthy pumpkin bars are soft, decadent, and perfectly spiced! They’re easy to make and bake in a square baking pan! Because they’re made with almond flour, they’re also gluten free.
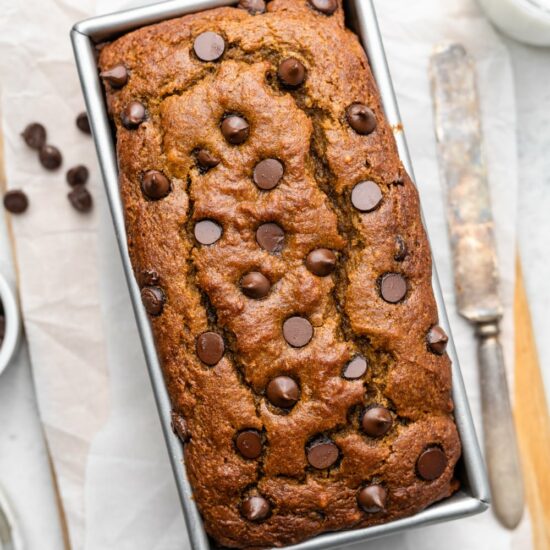
Fall is my favorite time of the year because of sweaters, soup, and fall baking, obviously. I have so many pumpkin recipes that I absolutely love, including the best paleo pumpkin bread. But, this season, I really wanted to dive headfirst into a recipe I’ve been wanting to experiment with for years—healthy pumpkin bars!
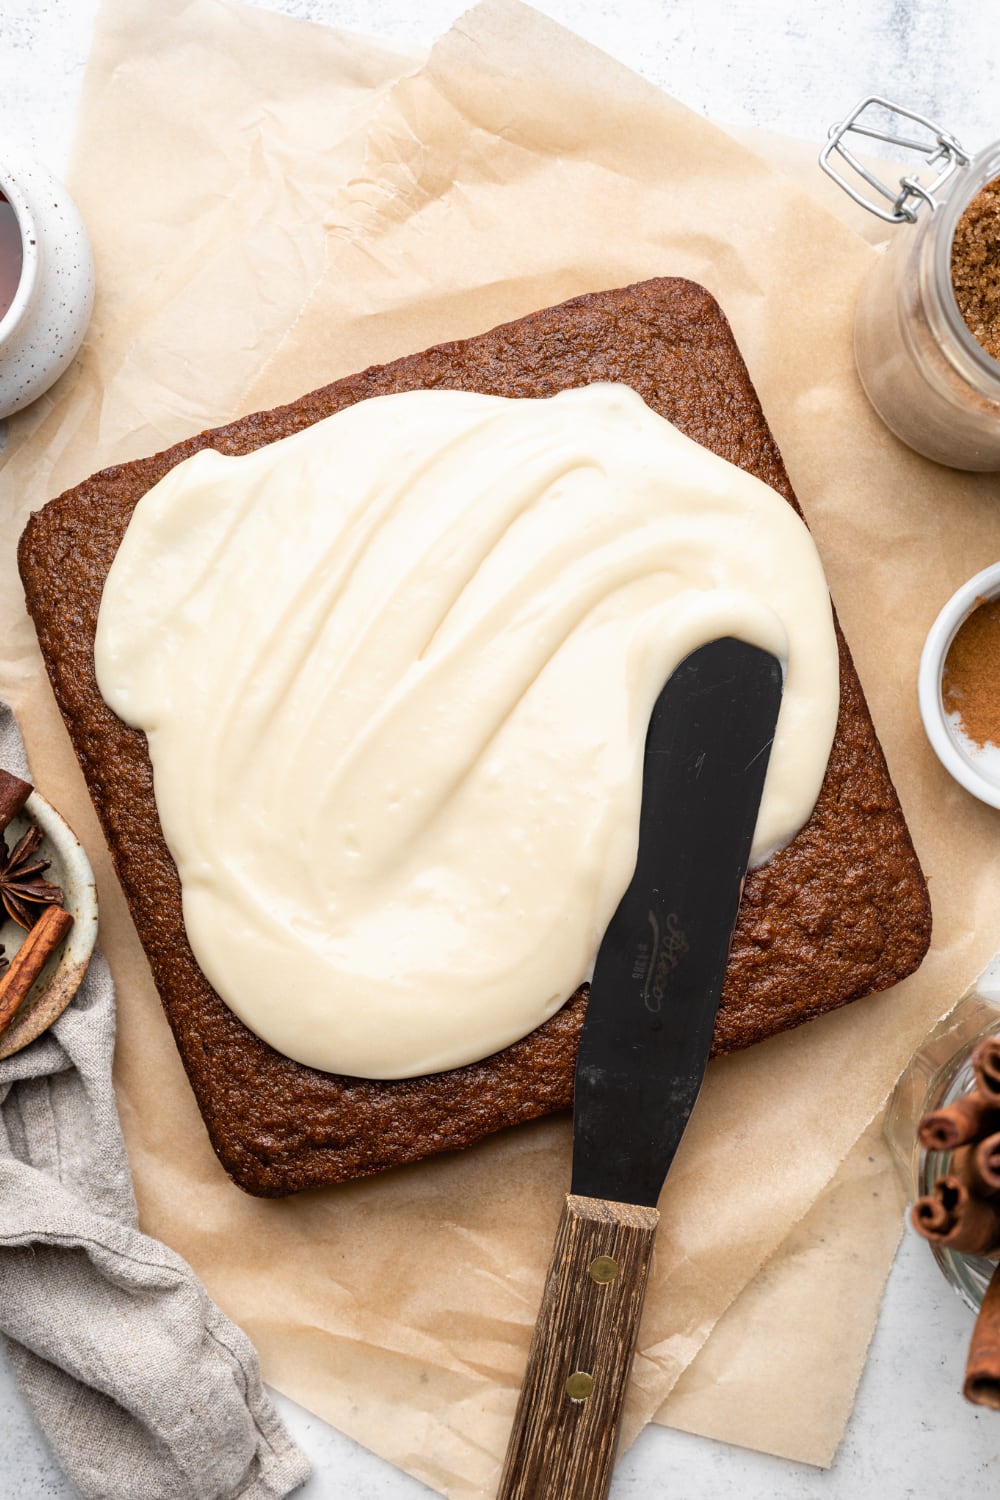
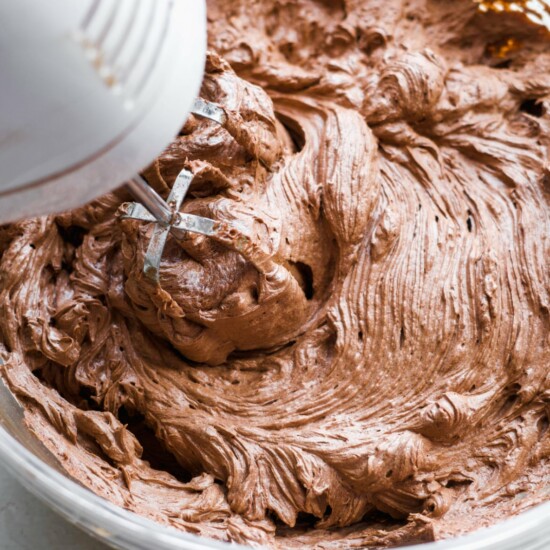
While pumpkin bars are typically made on a sheet pan, these are easily made in a square baking pan. Just spread my dairy free cream cheese frosting right on top after the bars have cooled, and serve at room temperature or chilled!
These bars have the perfect texture! The secret? The ratio of flour to eggs and oil. I tested many different variations, and reducing the eggs slightly makes the bars soft, dense, and irresistible.
If you’re lookin for a healthier recipe, these pumpkin bars are completely gluten free and made with quality ingredients, but no one will be able to tell! Get ready to gobble these down and share the recipe with friends!
Jump to:
What are Pumpkin Bars?
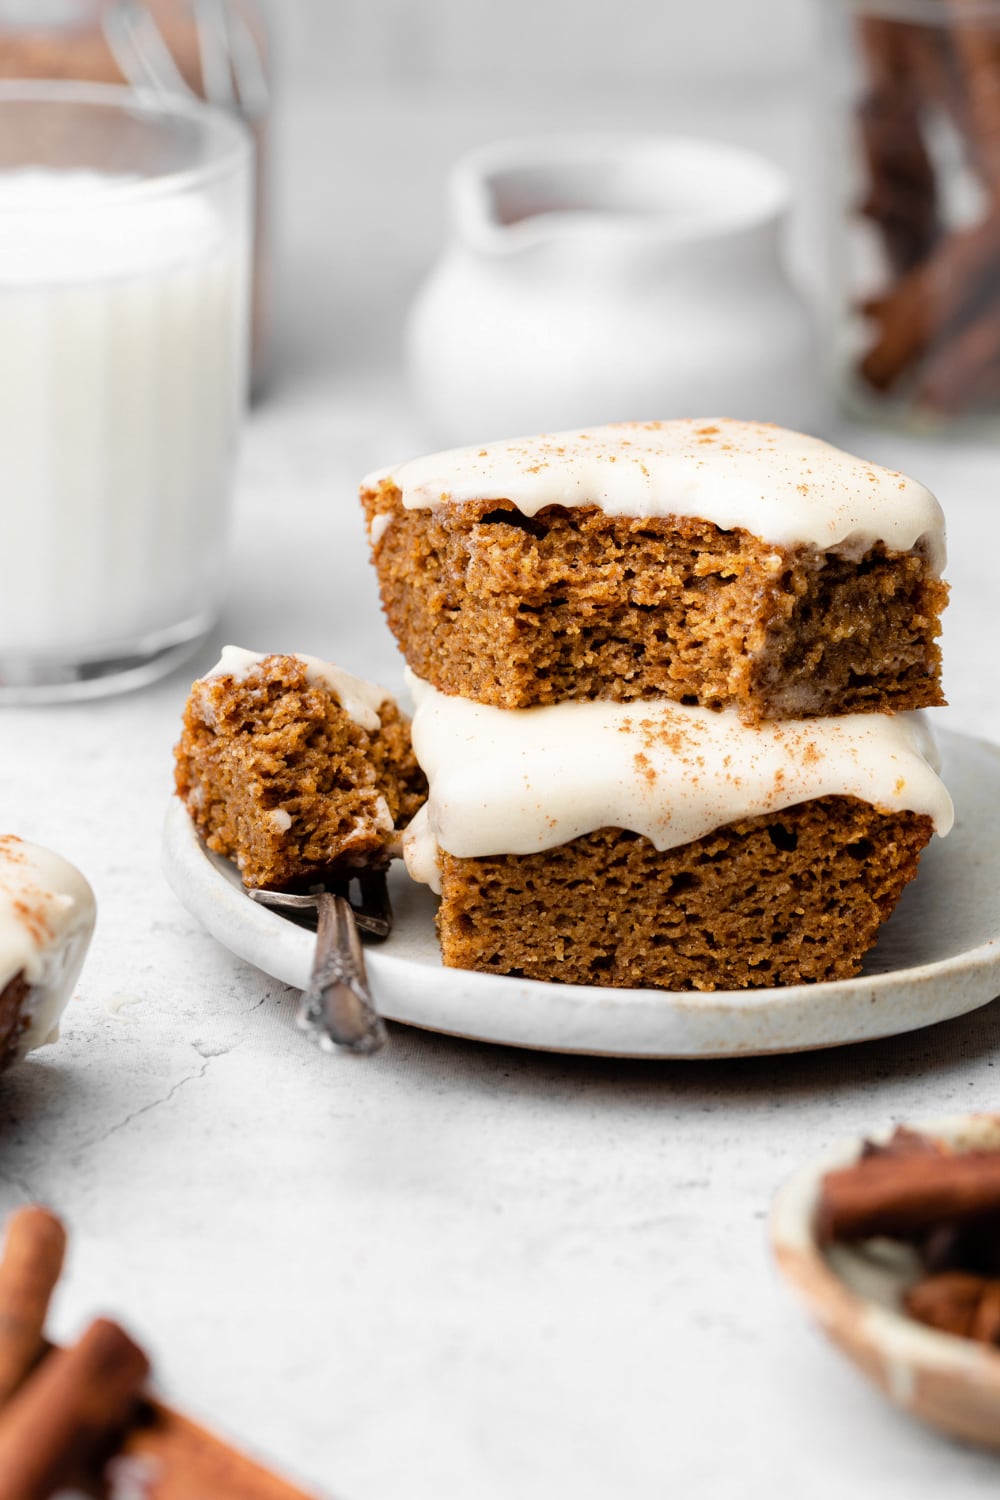
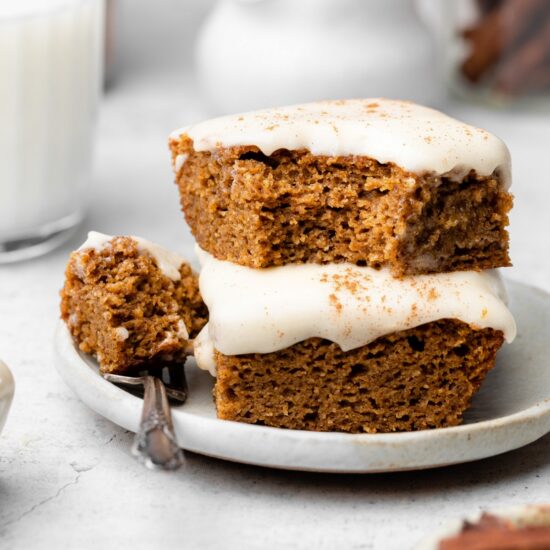
It’s sort of like a mesh between a cake and a chewy cookie. Pumpkin bars are soft and warmly spiced dense cake. The texture is cakey, but the bars aren’t light and fluffy so you don’t need a fork to eat one. They are sturdy enough for cream cheese frosting, but are still super moist. Confused? You’re just going to have to try them! The best kind of experimental research.
Ingredients Notes
Here are a few tips about some of the ingredients in this recipe:
- Pumpkin puree – Make sure to get pure pumpkin puree, not pumpkin pie filling! Check out this canned pumpkin comparison for more info about which brands offer the best flavor.
- Eggs – Lay these out about an hour ahead of time to bring them to room temperature.
- Coconut sugar – This is a natural granulated sweetener that adds a nice maple-sweet taste.
- Blanched almond flour – I recommend using a fine blanched almond flour for the best texture.
- Tapioca flour – While you only need a small amount, this is the secret ingredient that makes the texture soft and delicious. You can easily find this in the baking flour section!
Substitutions
While substitutions may change the texture and flavor, here’s a general guideline for what will work in this recipe:
- Almond flour – You can use another nut flour, like cashew flour.
- Tapioca flour – Swap this for arrowroot flour or just replace with almond flour.
- Maple syrup – Swapped for raw honey.
- Coconut sugar: You can use any type of granulated sugar, including brown sugar or cane sugar. Check out the best coconut sugar substitutes for more info.
- Coconut oil: Use ghee or unsalted butter.
How to Make Healthy Pumpkin Bars
Here’s how to make healthy pumpkin bars in six easy steps:
- Prep: Preheat the oven to 350°F and grease an 8×8-inch square baking pan with coconut oil. Line the pan with a parchment paper sling so the paper drapes over two sides.
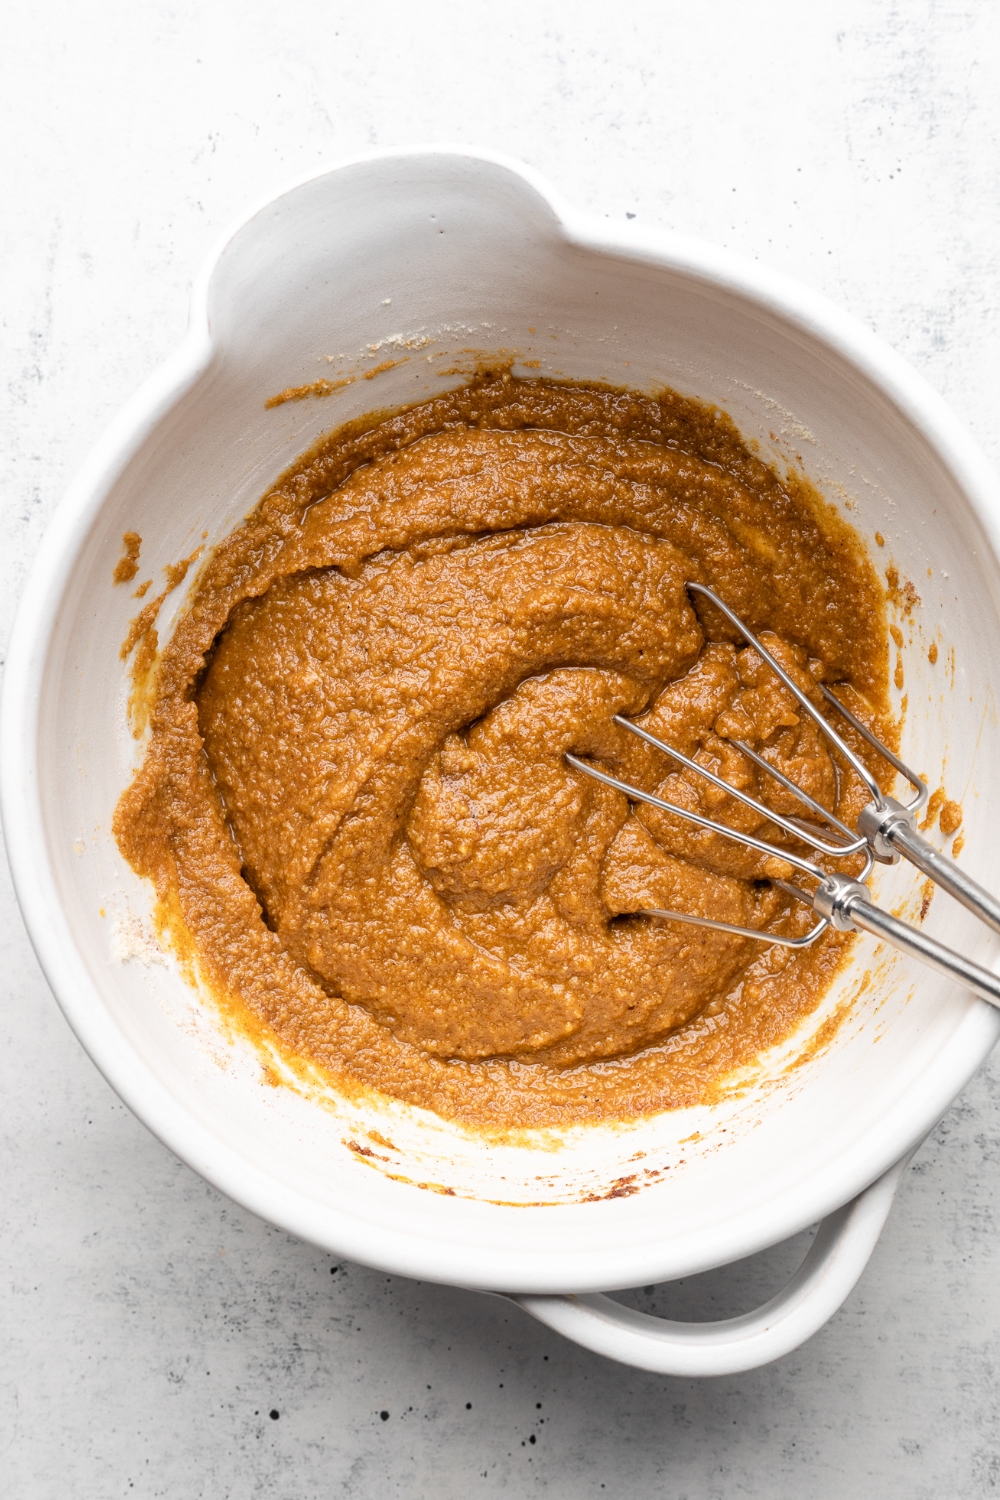
- Mix the batter: In a large mixing bowl, beat the pumpkin, eggs, coconut sugar, coconut oil, maple syrup, and vanilla extract together until combined. Add the almond flour, tapioca flour, baking soda, baking powder, and spices to the bowl, and beat until smooth. The batter will be thick.
- Bake: Pour the batter into the prepared pan and spread evenly. Bake on the center rack in the oven for 30-35 minutes, or until a toothpick comes out clean. The bars are done when you start to see a hint of golden color on top of the bars.
- Cool: Remove the bars from the oven and place them on a wire rack to cool completely, about 3 hours.
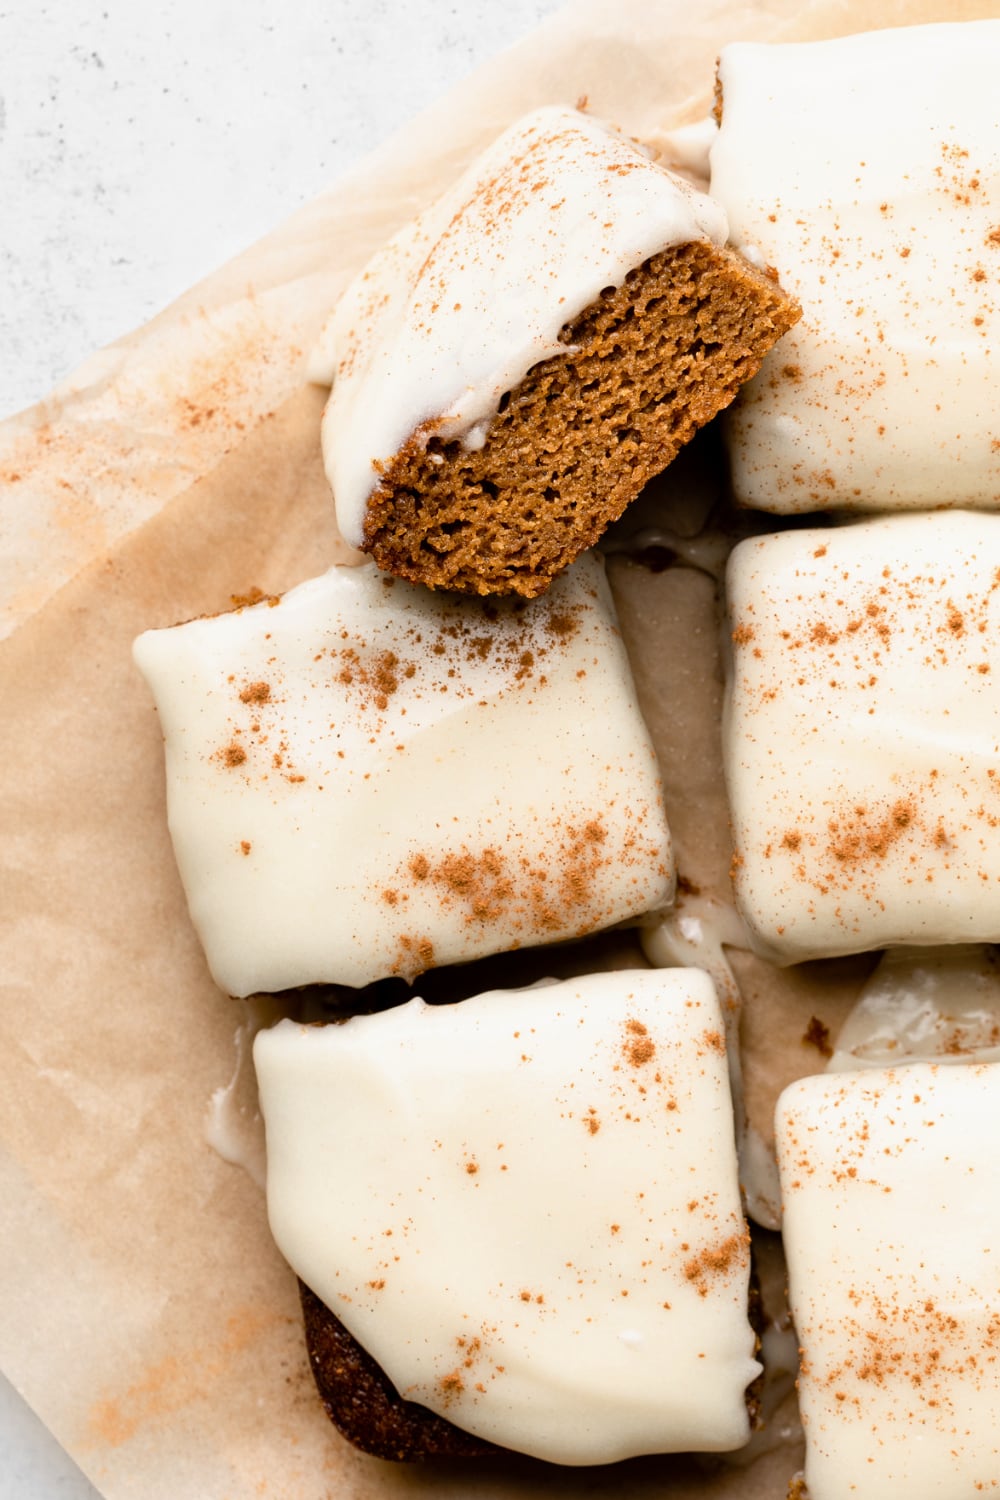
- Frost: If using frosting, spread about 1 cup of cream cheese frosting on the bars and place in the fridge to set for 1-2 hours.
- Serve: Slice into 12 equal bars. You can serve these chilled or at room temperature.
Baking Tips
- Start with ingredients that are room temperature. If you forgot to lay out the eggs, put them in a warm water bath for a few minutes.
- Make sure to use pure and organic pumpkin puree, not pumpkin pie filling.
- Don’t over-mix the batter. Mix until just combined.
- To speed up the cooling process, place the bars in the fridge after about 45 minutes of cooling at room temperature.
- After frosting the bars, you can place them in the fridge for 1-2 hours to let the frosting set. Cut and serve chilled.
Recipe FAQs
Are pumpkin bars cake?
Pumpkin bars bake up like cake, but the texture is more dense so you don’t need a fork to eat one. They are slightly more sturdy than cake, so they can handle cream cheese frosting or other toppings.
Do you have to put frosting on pumpkin bars?
No, the frosting is totally optional! Pumpkin bars are a fun and delicious treat with or without cream cheese frosting. When serving as dessert during the holidays, I like to add the frosting to make it a bit more decadent. My cream cheese frosting recipe uses a container of almond milk cream cheese, butter or ghee, and a little powdered sugar.
Should you refrigerate pumpkin bars?
You can leave pumpkin bars out at room temperature for up to a day with frosting, and up to 3 days without frosting. You can store them in the fridge for up to a week. I like the texture of the bars better when they are chilled, so I always refrigerate them.
Is pumpkin healthy?
Pumpkin is a winter squash that is packed with vitamins, minerals, and antioxidants. It contains vitamins A, B, and C, copper, folate, and manganese, and minerals like calcium, potassium, and magnesium. It’s also a decent source of fiber. Incorporating pumpkin into soups, baked goods, and meals is a great way to boost nutrient intake!

How to Serve
While these bars are awesome on their own, you can also serve them with:
- Cream cheese frosting
- A dusting of powdered sugar
- A sprinkle of cinnamon or pumpkin pie spice
- A drizzle of powdered sugar icing. Just mix ¾ cup organic powdered sugar with 2 tablespoons coconut milk.
To me, pumpkin bars are best served chilled. Because the texture is dense and soft, they have an incredible texture right out of the fridge!
Storage and Freezing
STORE: Let the pumpkin bars cool to room temperature, then place them in an airtight container in the refrigerator. They will last up to 7 days in the fridge.
FREEZE: These bars freeze well, too! Just place them in an airtight container or freezer-safe storage bag. I like to separate each one with a small piece of parchment paper to prevent sticking. Store them in the freezer for up to 3 months. I recommend freezing them without frosting.
THAW: When you’re ready to a bar, just lay it out in the fridge to thaw for a few hours.
More Pumpkin Recipes
- Paleo Pumpkin Muffins with Cinnamon Streusel (Grain-Free, Dairy-Free)
- Paleo Pumpkin Blondies
- 4-Ingredient Vegan Caramel Sauce
- Paleo Chocolate Banana Bread
- Paleo Magic Cookie Bars
Healthy Pumpkin Bars
A healthy twist on a classic fall treat, these healthy pumpkin bars are soft, decadent, and perfectly spiced! They’re easy to make and bake in a square baking pan! Because they’re made with almond flour, they’re also gluten free.
Prep: 15Cook: 35Total: 50 minutes
Servings: 12 1x
Ingredients
Pumpkin Bars:
- ¾ cup pure pumpkin puree
- 2 large eggs, room temperature
- ½ cup coconut sugar
- ¼ cup melted coconut oil
- ¼ cup maple syrup
- 1 teaspoon vanilla extract
- 1 ½ cups blanched almond flour
- 2 tablespoons tapioca flour
- ½ teaspoon baking soda
- 1 teaspoon baking powder
- 1 tablespoon pumpkin pie spice
- ¼ teaspoon sea salt
Cream Cheese Frosting:
- 1 recipe for Cream Cheese Frosting (optional)
Instructions
- Prep: Preheat the oven to 350°F and grease an 8×8-inch square baking pan with coconut oil. Line the pan with a parchment paper sling so the paper drapes over two sides.
- Mix the batter: In a large mixing bowl, beat the pumpkin, eggs, coconut sugar, coconut oil, maple syrup, and vanilla extract together until combined. Add the almond flour, tapioca flour, baking soda, baking powder, and spices to the bowl, and beat until smooth. The batter will be thick.
- Bake: Pour the batter into the prepared pan and spread evenly. Bake on the center rack in the oven for 30-35 minutes, or until a toothpick comes out clean. The bars are done when you start to see a hint of golden color on top of the bars.
- Cool: Remove the bars from the oven and place them on a wire rack to cool completely, about 3 hours.
- Frost: If using frosting, spread about 1 cup of cream cheese frosting on the bars and place in the fridge to set for 1-2 hours.
- Serve: Slice into 12 equal bars. You can serve these chilled or at room temperature.
Notes
- To speed up the cooling process, place the bars in the fridge after about 45 minutes of cooling at room temperature.
- It’s best to frost the bars while they’re still in the pan.
- Because the frosting is dairy free, it tends to be a bit softer. I like to frost the bars in the pan, and place them covered in the fridge overnight to set. Serve chilled with frosting.
- If you skip the frosting, serve with a dusting of powdered sugar.
Recipe by: Noelle Tarr / Coconuts and Kettlebells | Photography by: Casey Colodny / The Mindful Hapa
Casey Colodny says
Such a yummy afternoon treat with a cup of coffee!
Noelle Tarr, NTP, CPT says
Oh my gosh—yes!! The best! Thank you for sharing! 🙂
Jen says
Made these and they were amazing!!!
Liz says
Do you have any recommendations for a nut free flour substitute?
Noelle Tarr, NTP, CPT says
I haven’t tried anything personally. But if you look into almond flour substitutes you may find one that works for you!
Michele Harden says
I may be for a family get together and got numerous comments about how they were delicious and moist. Thanks for a great recipe.