This post may contain affiliate links. Please read our disclosure policy.
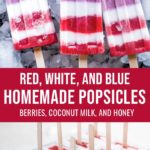
Summer is well known for all the fun American festivities: pool parties, grill-outs, beach trips, and of course, red, white and blue homemade popsicles! Once my kids were born, we started making natural red, white, and blue popsicles to celebrate July 4th. They’re a great way to cool off, while also showing off support for the red, white, and blue. #’Merica
I am a super fan of homemade popsicles because it is so easy to do., and only uses real, simple ingredients. All you need to make these red, white, and blue homemade popsicles is strawberries, blueberries, a can of coconut milk, and just a touch of honey! That’s it. Kids love them (and let’s be honest, adults do too).
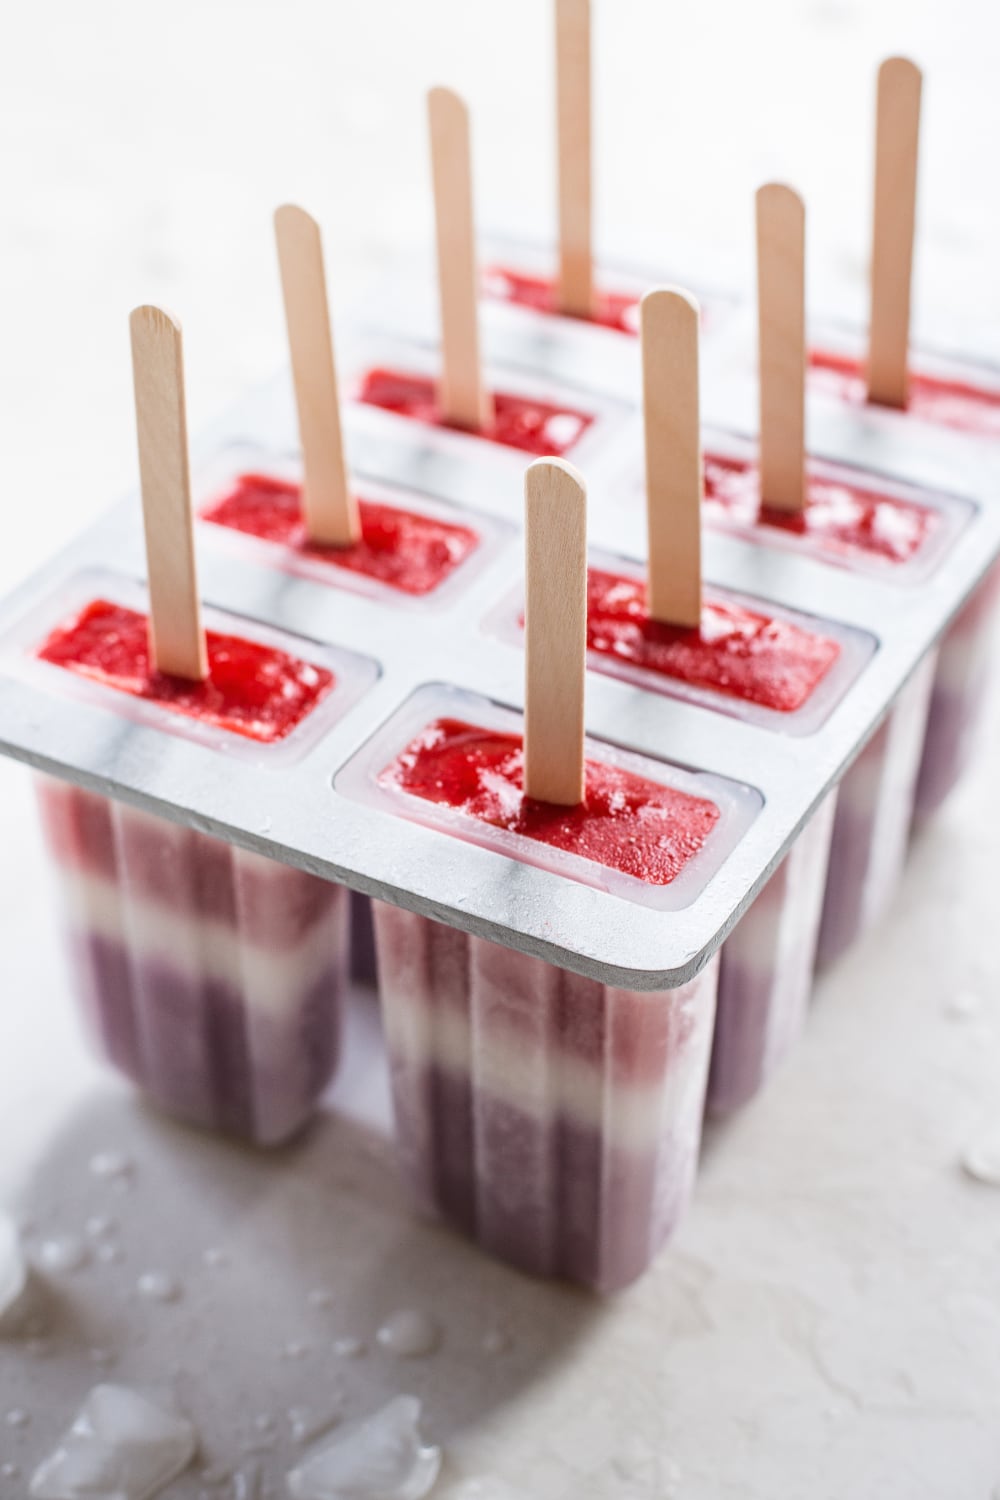
To make these red, white, and blue natural popsicles for your next summer party, you’ll need to get your own Popsicle Mold Tray. They’re fairly cheap and easy to find online. If you’d like to do the super-cool red and white stripes as pictured, give yourself some time to freeze each layer. If you’d like to hit the easy button, just do the traditional “firecracker” look, and layer red, white, and blue.
Because the ingredients are so simple, these popsicles fit a variety of needs! They’re gluten and dairy free, and totally paleo-friendly!
Note: If you’re looking for a deeper red and blue color, add a little bit of natural food coloring. Without it, you’ll still have beautiful popsicles, but the colors will be more subtle and natural.
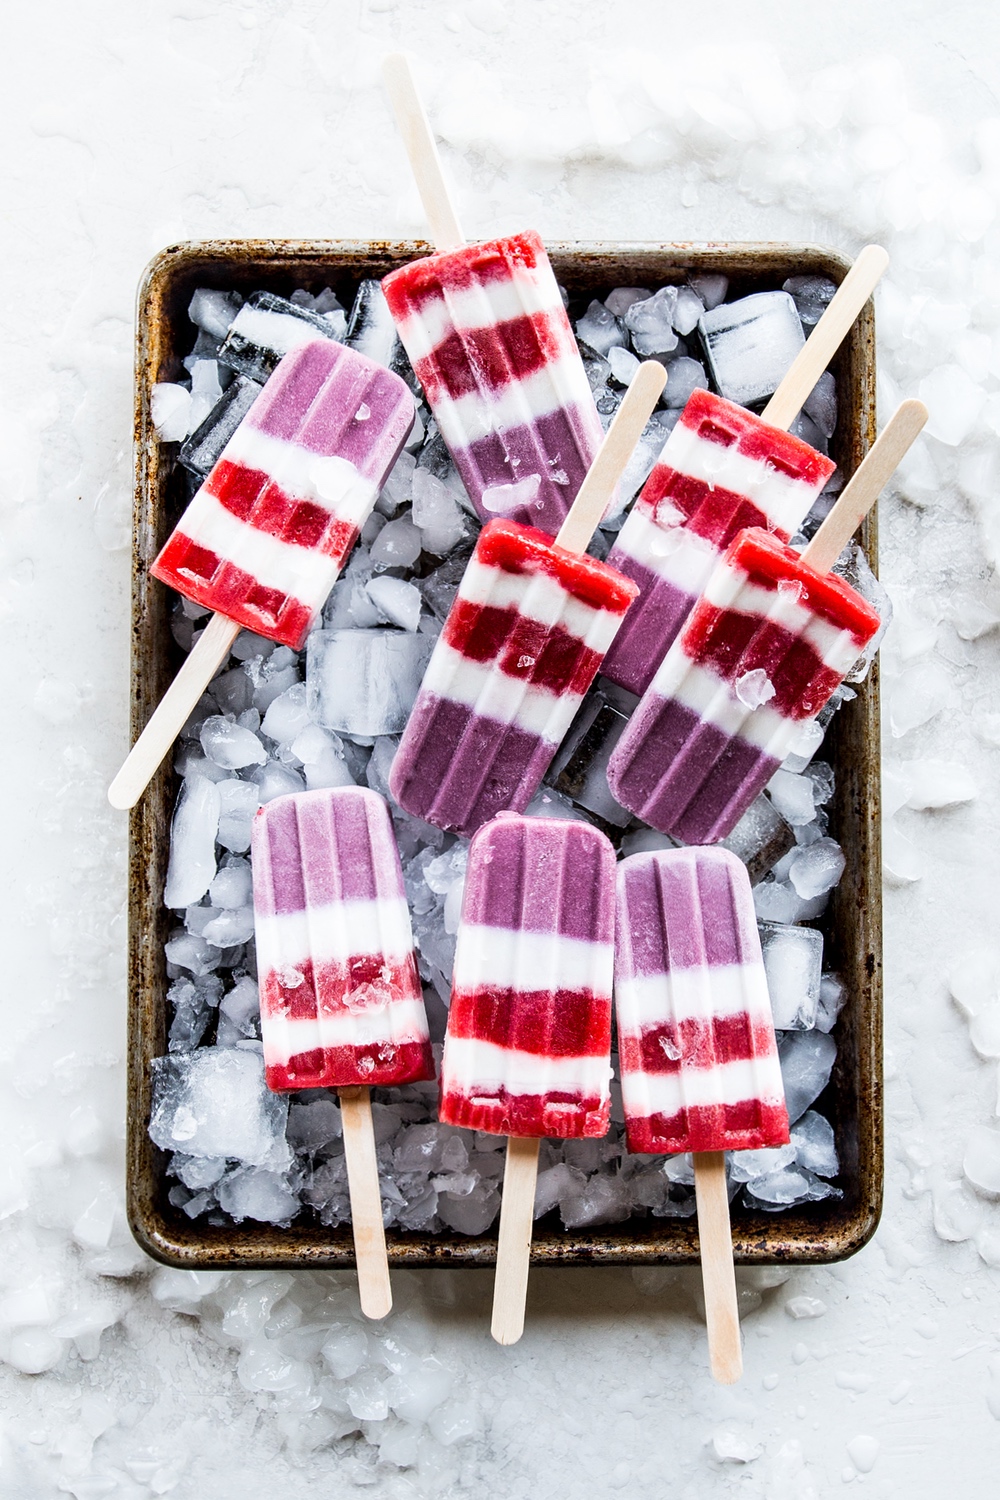
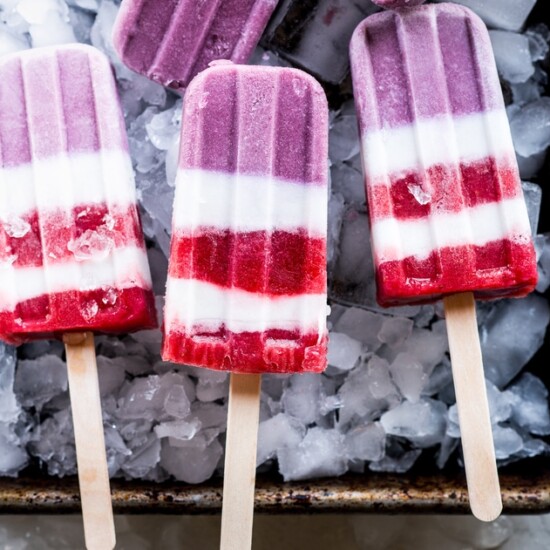
Red, White, and Blue Homemade Popsicles
These red, white, and blue homemade popsicles made with berries, a can of coconut milk, and a touch of honey! They’re paleo-friendly, and the perfect way to cool off during summer holidays.
Ingredients
- 6 medium strawberries
- 3 tbsp honey
- ½ cup + 3 tbsp coconut water
- ¼ cup blueberries, frozen
- ¾ cup full-fat coconut milk (canned)
- Optional: If you want a deep blue and red color, add 5 drops of a natural red and blue food coloring to the layers.
Instructions
- To make the red layer, add the strawberries, 1 tbsp honey, and 3 tbsp coconut water to a high-speed blender and blend until smooth. Add 5 drops natural red food coloring (optional). Pour the contents into a separate container and rinse out the blender.
- To make the white layer, add 2 tbsp honey, 1/2 cup coconut water, and the coconut milk to a high-speed blender and blend until smooth. Pour half of the white mixture into a separate container.
- To make the blue layer, add the blueberries (and optional natural blue food coloring) to the blender with the remaining white mixture. Blend until smooth.
- To assemble the popsicles, pour the blue layer into each mold so that it fills ⅓ of the mold. Use a paper towel to clean any drips on the inside of the mold where the next layers will go. Freeze for 45 minutes.
- Once frozen, create red and white stripes by pouring the white mixture into each mold so that it fills about 1/6th of mold and freeze for 35-40 minutes. Repeat this process with a red layer and another white layer, freezing each layer separately for about 30 minutes. Pour the last red layer into the mold and insert a popsicle stick into each mold and freeze overnight.
- To help release the popsicles, run the molds under warm water for 15 seconds.
Notes
Want less prep time? Simply do a red, white, and blue layer for the popsicles. Fill 1/3 of the mold for each layer, and return the popsicles to the freezer after each layer for about 45 minutes. Once you pour the last layer, insert the popsicle stick before freezing and freeze overnight.
Did you make these red, white, and blue homemade natural popsicles? Let me know below!
Be strong,

