Leave a Comment
Posted: 11/10/26
This post may contain affiliate links. Please read our disclosure policy.


This easy healthy pumpkin pie recipe is even better than the traditional version! The filling is rich, creamy, and naturally sweetened with maple syrup. Serve with a dollop of whipped cream for the most delicious Thanksgiving dessert!
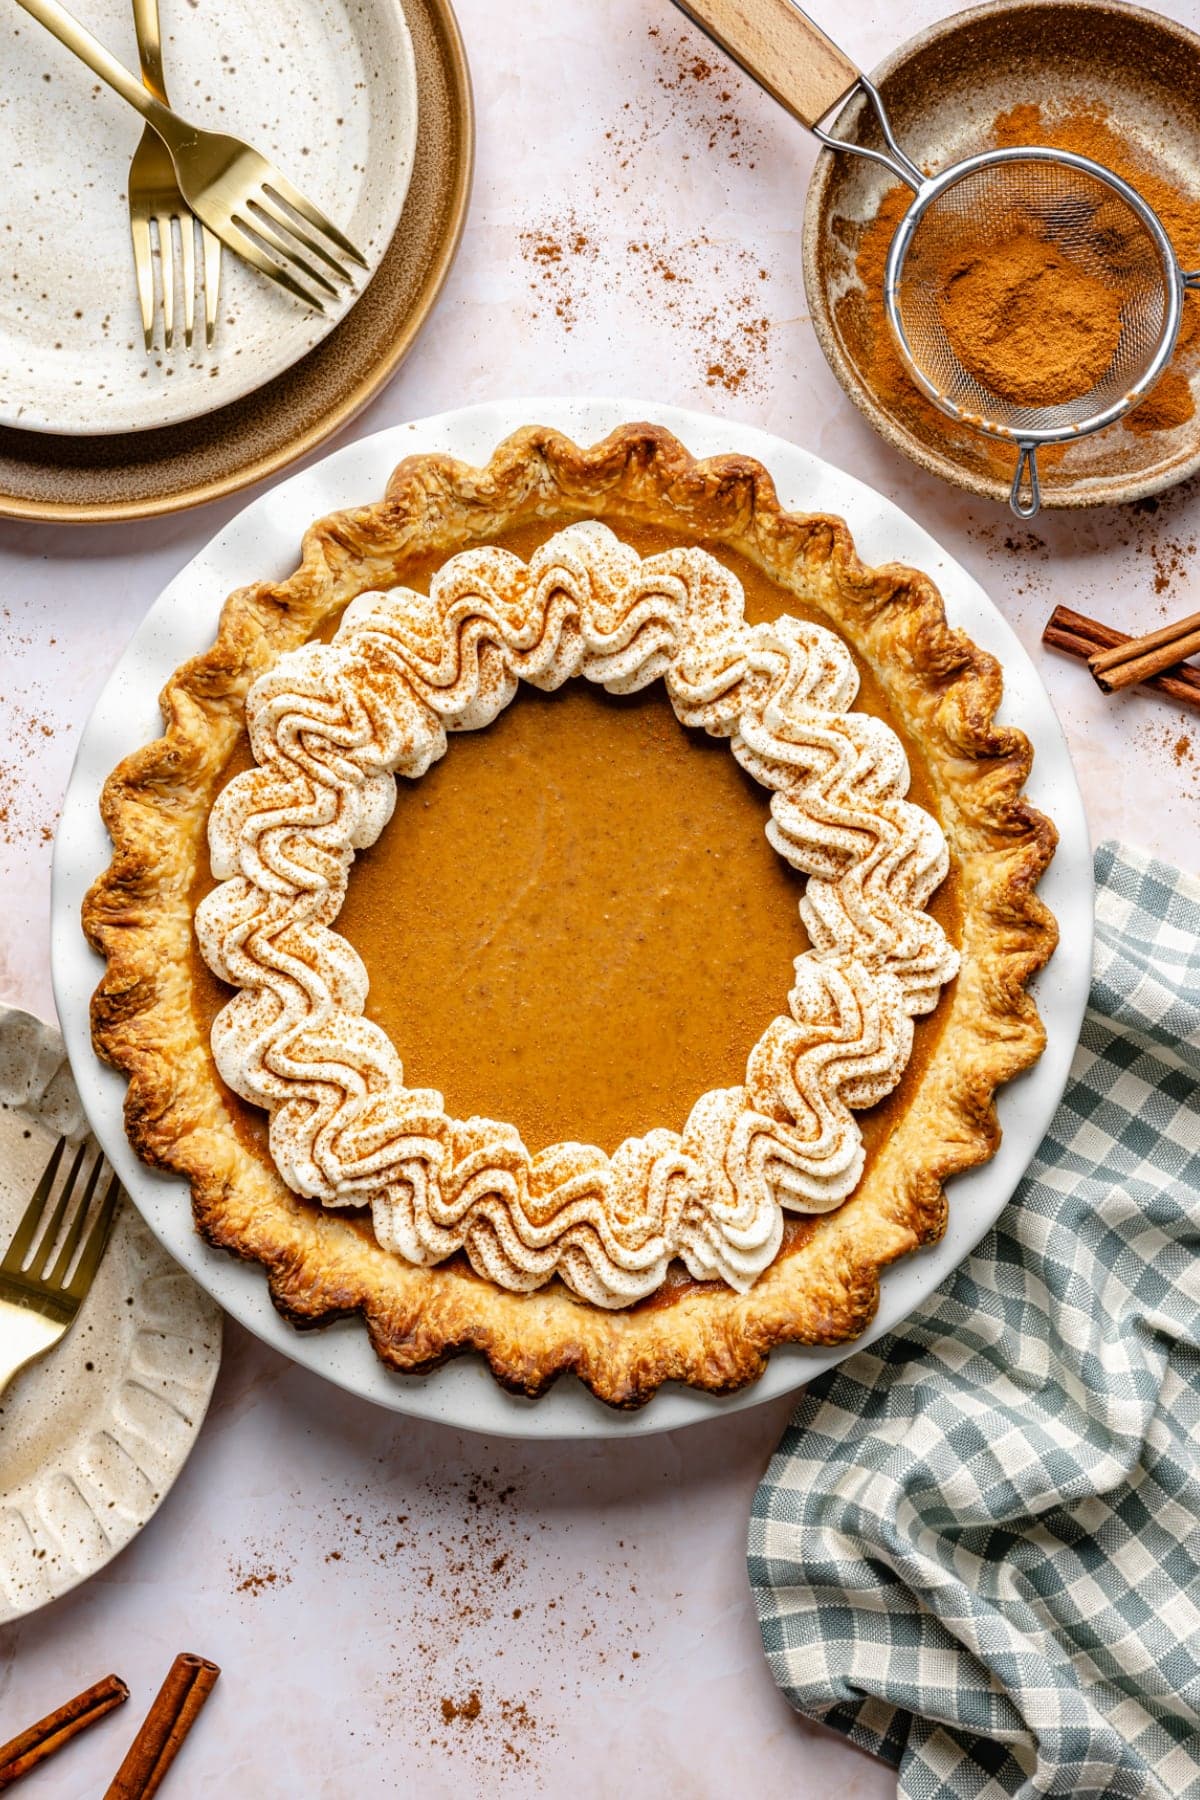
I’m going to make a bold statement: This healthy pumpkin pie tastes better than traditional pumpkin pie.
We typically gravitate toward desserts like my healthy pumpkin bars or healthy apple pie bars for Thanksgiving. But this pumpkin pie has officially earned a permanent spot on our holiday menu, and we make it every single year!
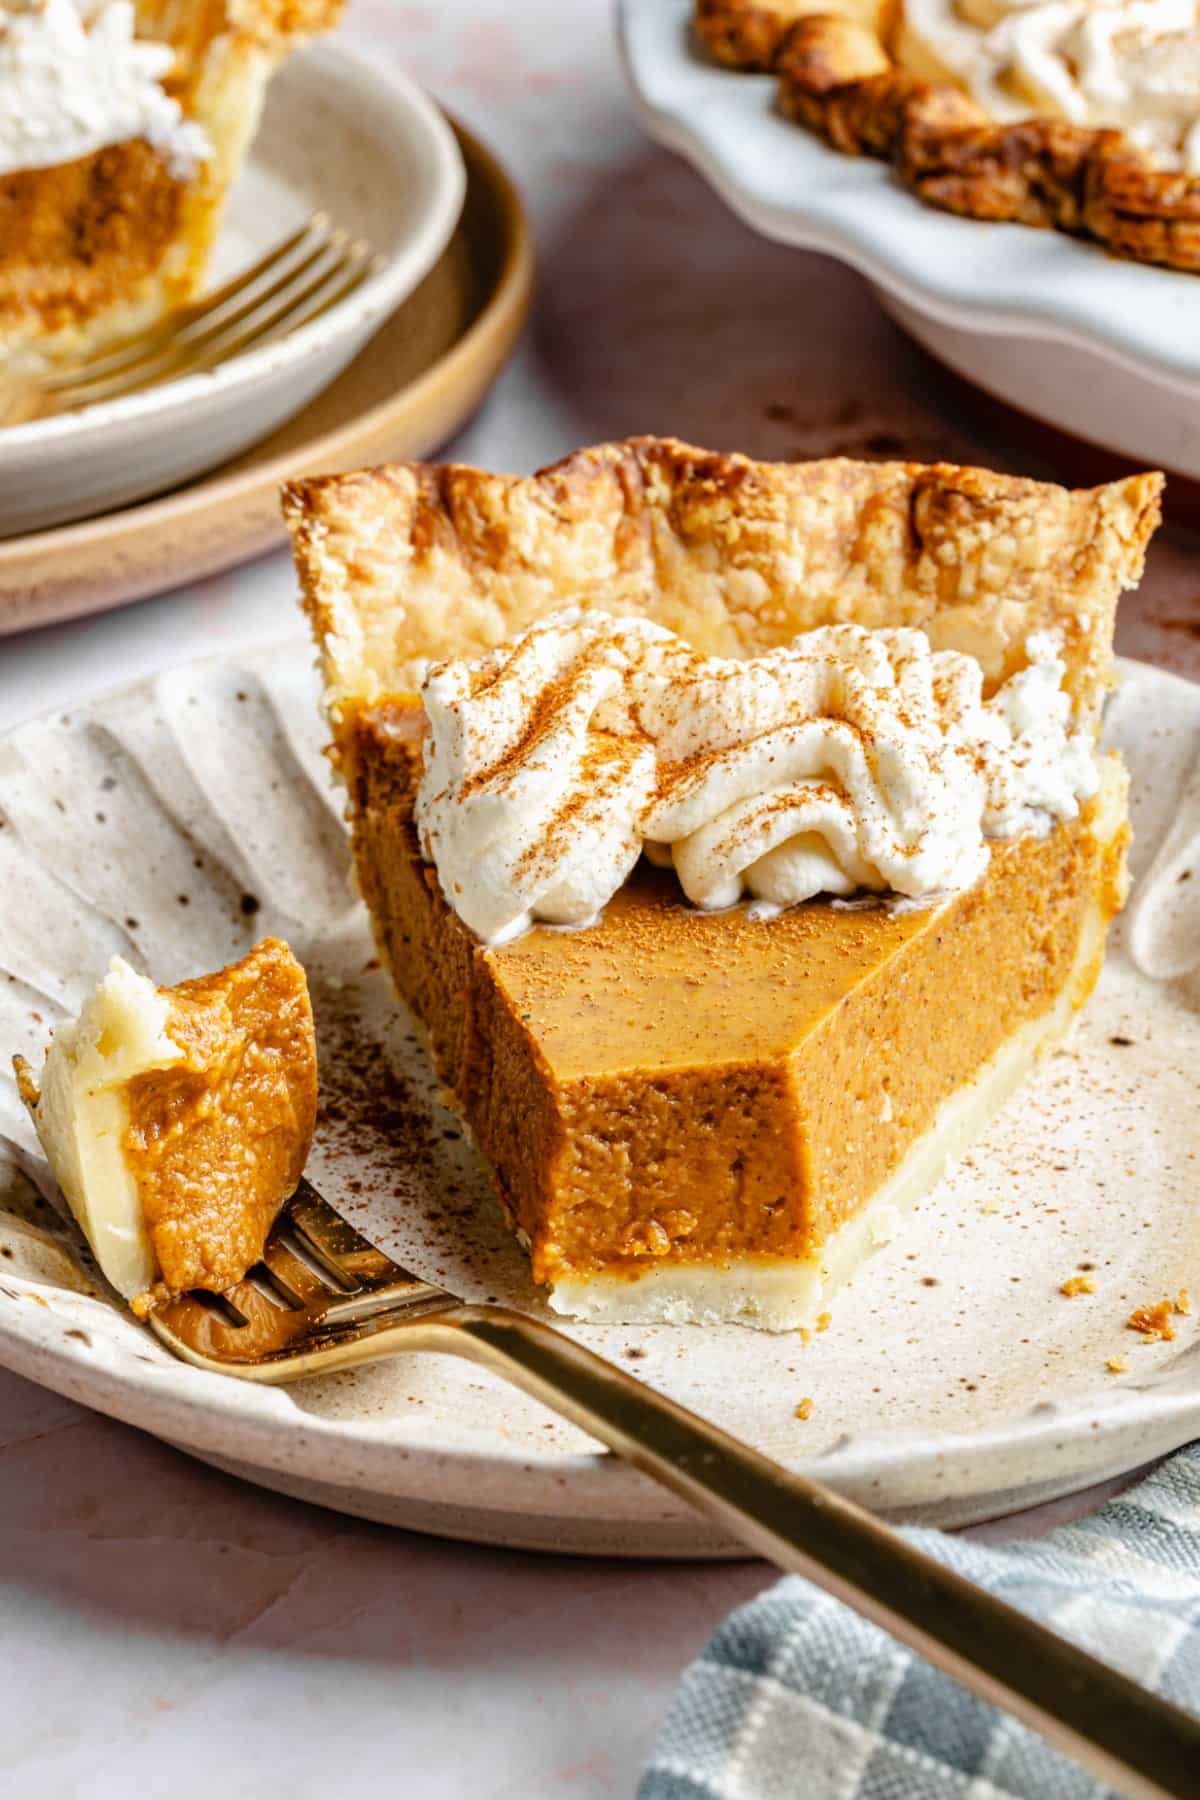
The filling is incredibly rich and creamy, perfectly spiced, and naturally sweetened with maple syrup. It’s not overly sweet, and the texture is absolutely perfect. Plus, it’s made with simple, wholesome ingredients, and you can prep the entire pie in just 10 minutes!
Even better, it’s one of those desserts that tastes better the next day, which makes it perfect for prepping ahead of Thanksgiving. Serve it with a big dollop of whipped cream, and trust me, you won’t miss the traditional version!
Jump to:
Why This Pumpkin Pie is Healthier
- Naturally sweetened: This pumpkin pie is sweetened entirely with pure maple syrup. It adds just the right amount of sweetness and pairs perfectly with the warm pumpkin spices.
- No heavy cream: Traditional pumpkin pie is often made with heavy cream, evaporated milk, or sweetened condensed milk. This recipe uses coconut milk instead, which keeps the filling rich and creamy.
- Made with pure pumpkin: Instead of canned pumpkin pie filling, which already contains added sugar and spices, this healthier recipe starts with 100% pumpkin puree. This lets you control exactly what goes into the filling.
- Simple ingredients: The filling is made with just pumpkin, eggs, coconut milk, maple syrup, vanilla, and spices. No complicated ingredients needed!
Ingredients
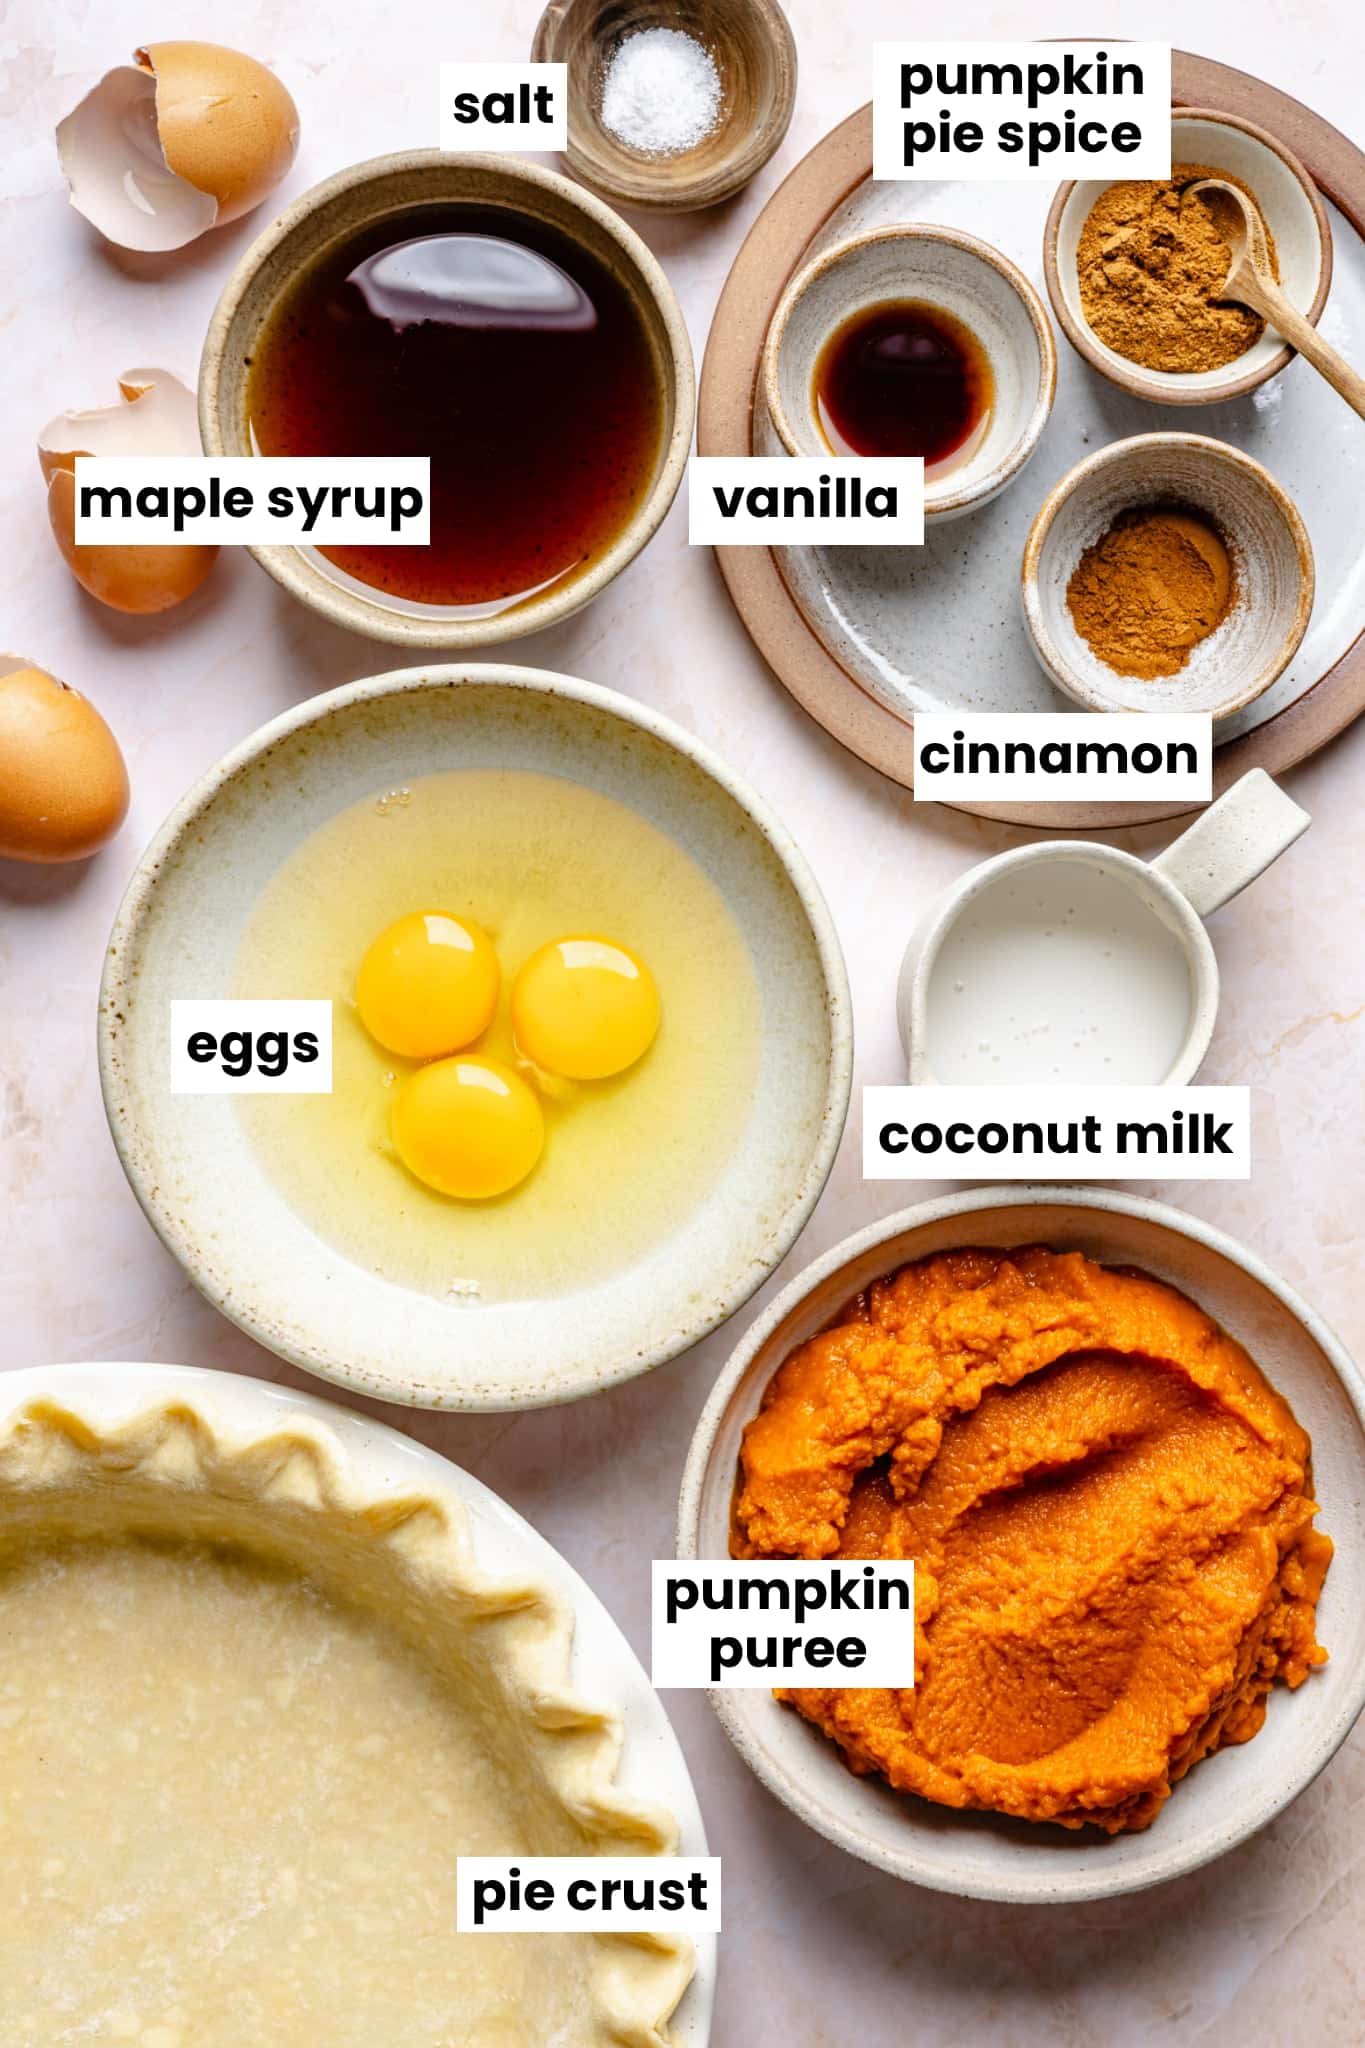
- Pumpkin puree: Make sure to use 100% pure pumpkin puree, not pumpkin pie filling, which already contains added sugar and spices. You’ll need one 15 oz can for this recipe.
- Eggs: Three large eggs help the pumpkin pie filling set and give it that classic smooth, custard-like texture.
- Maple syrup: The only sweetener you’ll need! Make sure to use real maple syrup, not pancake syrup.
- Coconut milk: Use full-fat canned coconut milk (from a can) for the richest, creamiest filling. It replaces the heavy cream or evaporated milk typically used in pumpkin pie. Give the can a good shake or stir before measuring.
- Pumpkin pie spice: This blend typically includes cinnamon, ginger, nutmeg, and cloves. You can use a store-bought blend or make your own.
- Pie crust: You can use a homemade or store-bought 9-inch pie crust. I love the Wholly Wholesome Gluten Free Pie Crust for an easy option. Make sure the crust is ready to fill according to the package directions.
See the recipe card for full information on ingredients and quantities.
Substitutions
- Maple syrup: Honey can be used in place of maple syrup at a 1:1 ratio. Keep in mind that honey has a slightly stronger flavor, so your pie will be sweeter.
- Coconut milk: You can substitute heavy cream or evaporated milk at a 1:1 ratio if you don’t need the recipe to be dairy free. Both will give the filling a rich, creamy texture.
- Pumpkin pie spice: If you don’t have pumpkin pie spice, substitute 1½ teaspoons cinnamon, ¾ teaspoon ground ginger, ½ teaspoon nutmeg, and ¼ teaspoon ground cloves
- Pie crust: Any homemade or store-bought 9-inch pie crust will work. Use a gluten-free or dairy-free crust if needed!
How to Make Healthy Pumpkin Pie
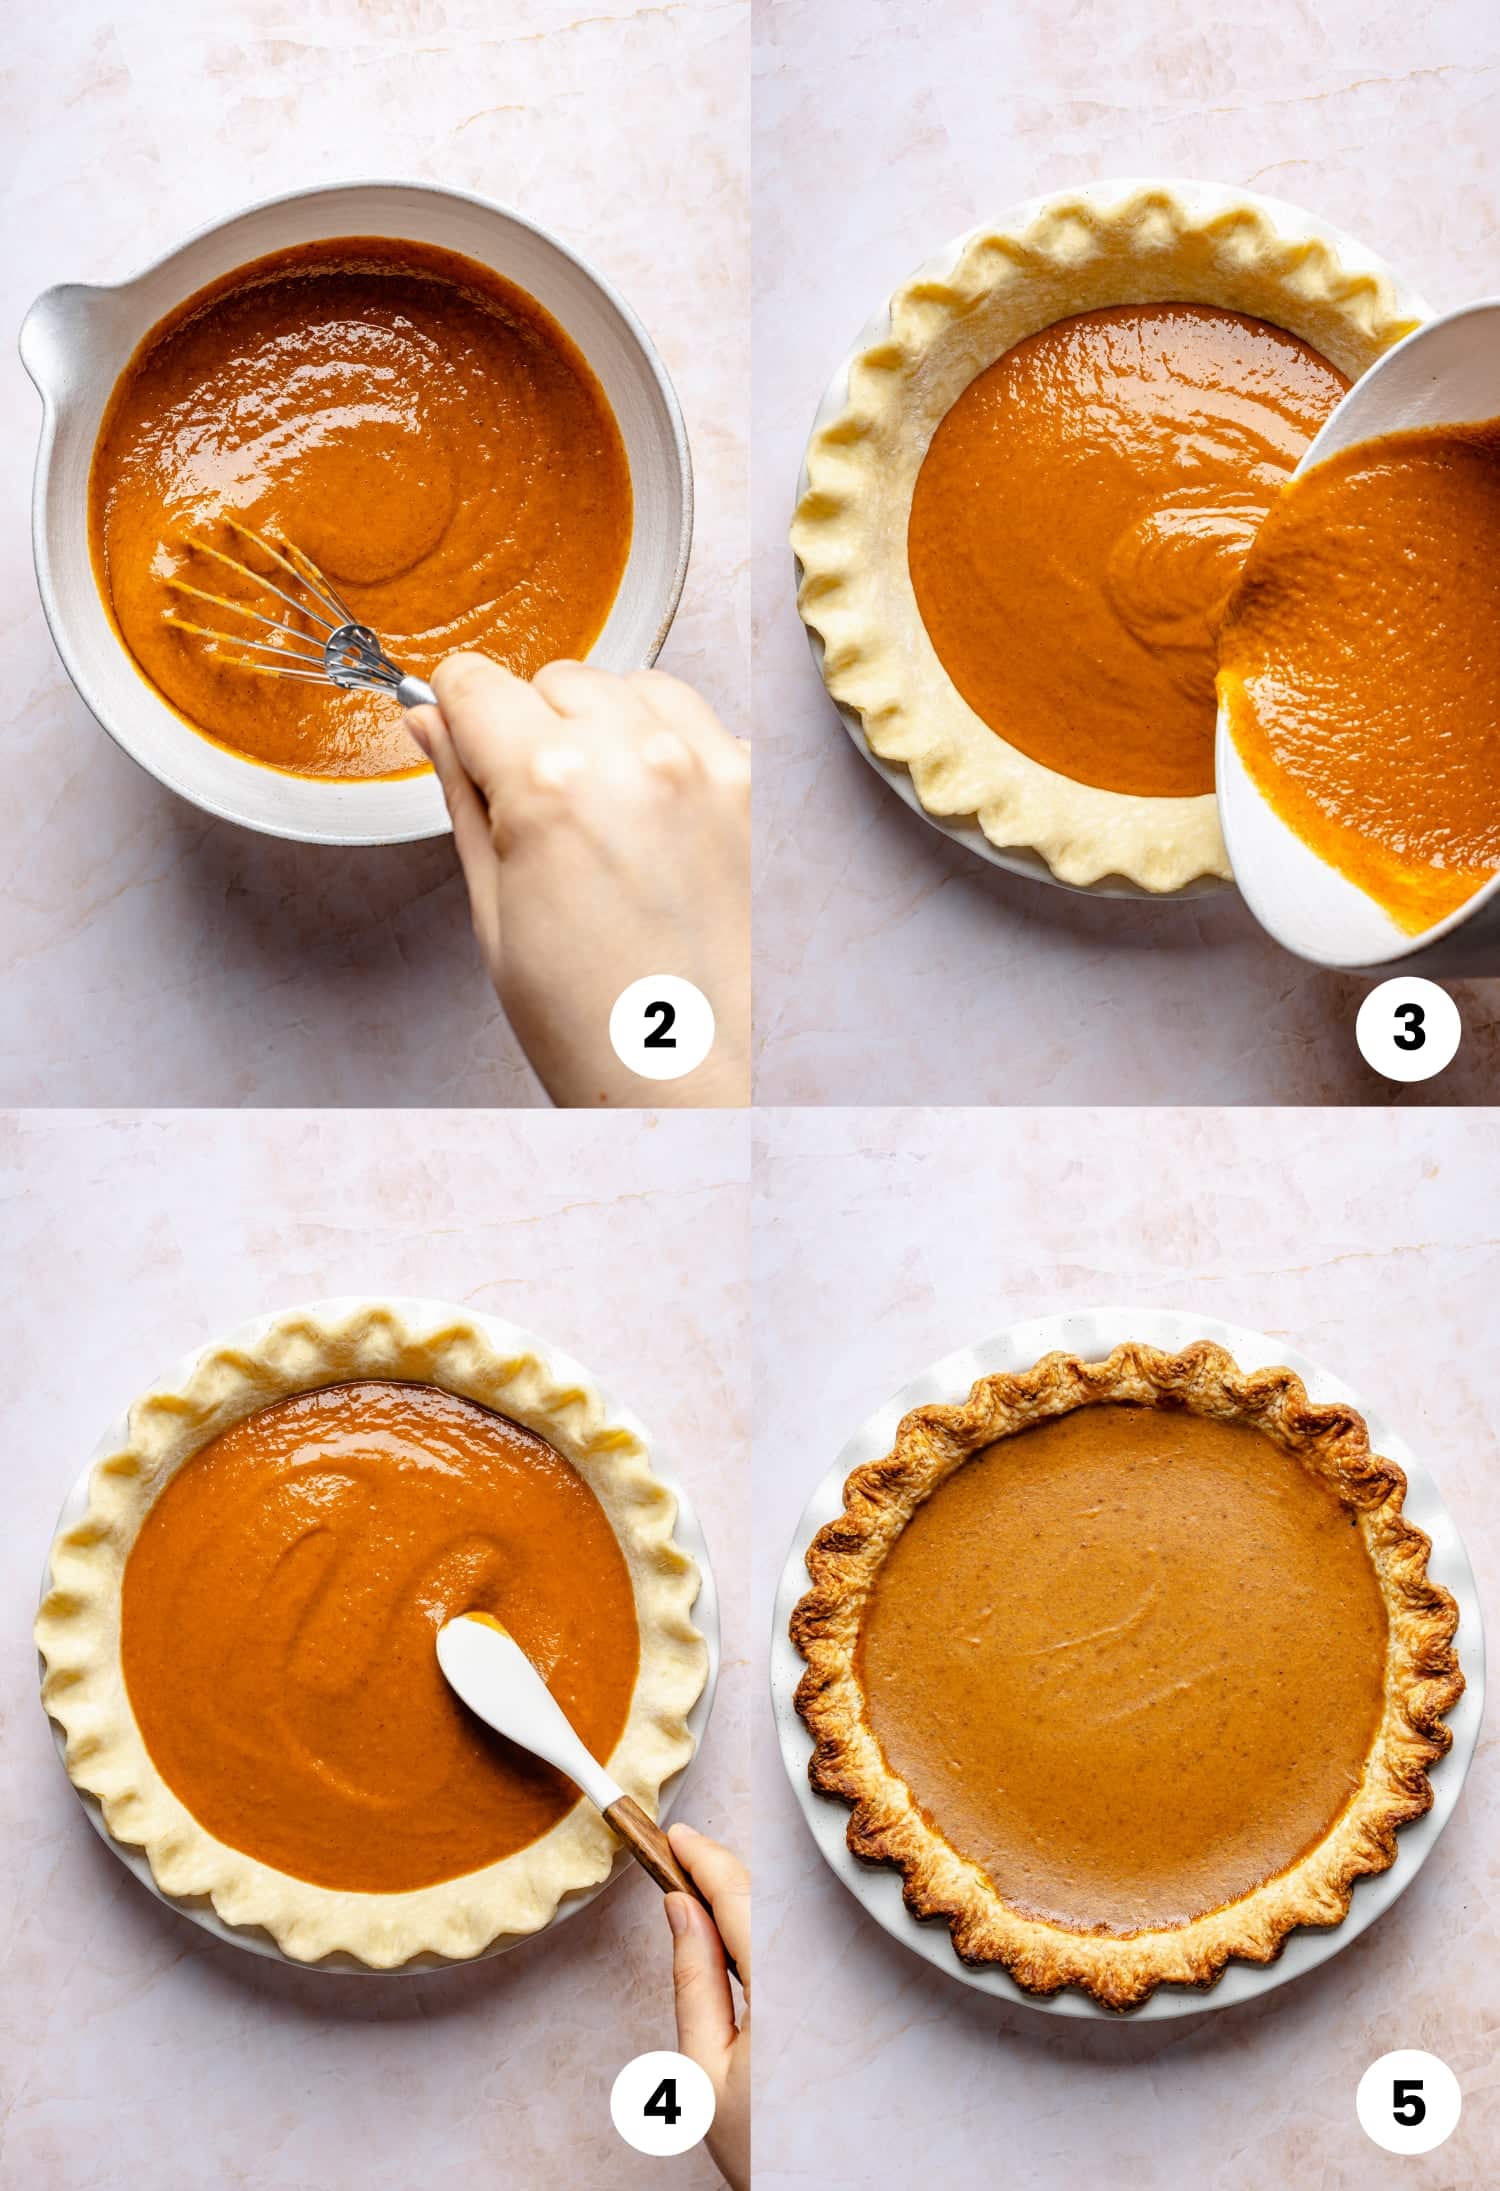
- Prep: Preheat the oven to 350°F. Place the prepared pie crust on a baking sheet to make it easier to transfer in and out of the oven.
- Make the pumpkin pie filling: Add the pumpkin puree, eggs, maple syrup, coconut milk, vanilla extract, pumpkin pie spice, cinnamon, and salt to a large mixing bowl. Mix until smooth and well combined.
- Fill the pie crust: Pour the pumpkin pie filling into the prepared crust and gently smooth the top.
- Bake: Bake for 50–60 minutes, or until the edges are set and the center is mostly set with just a slight jiggle. Baking time can vary depending on the pie crust and pan, so begin checking the pie around 50 minutes.
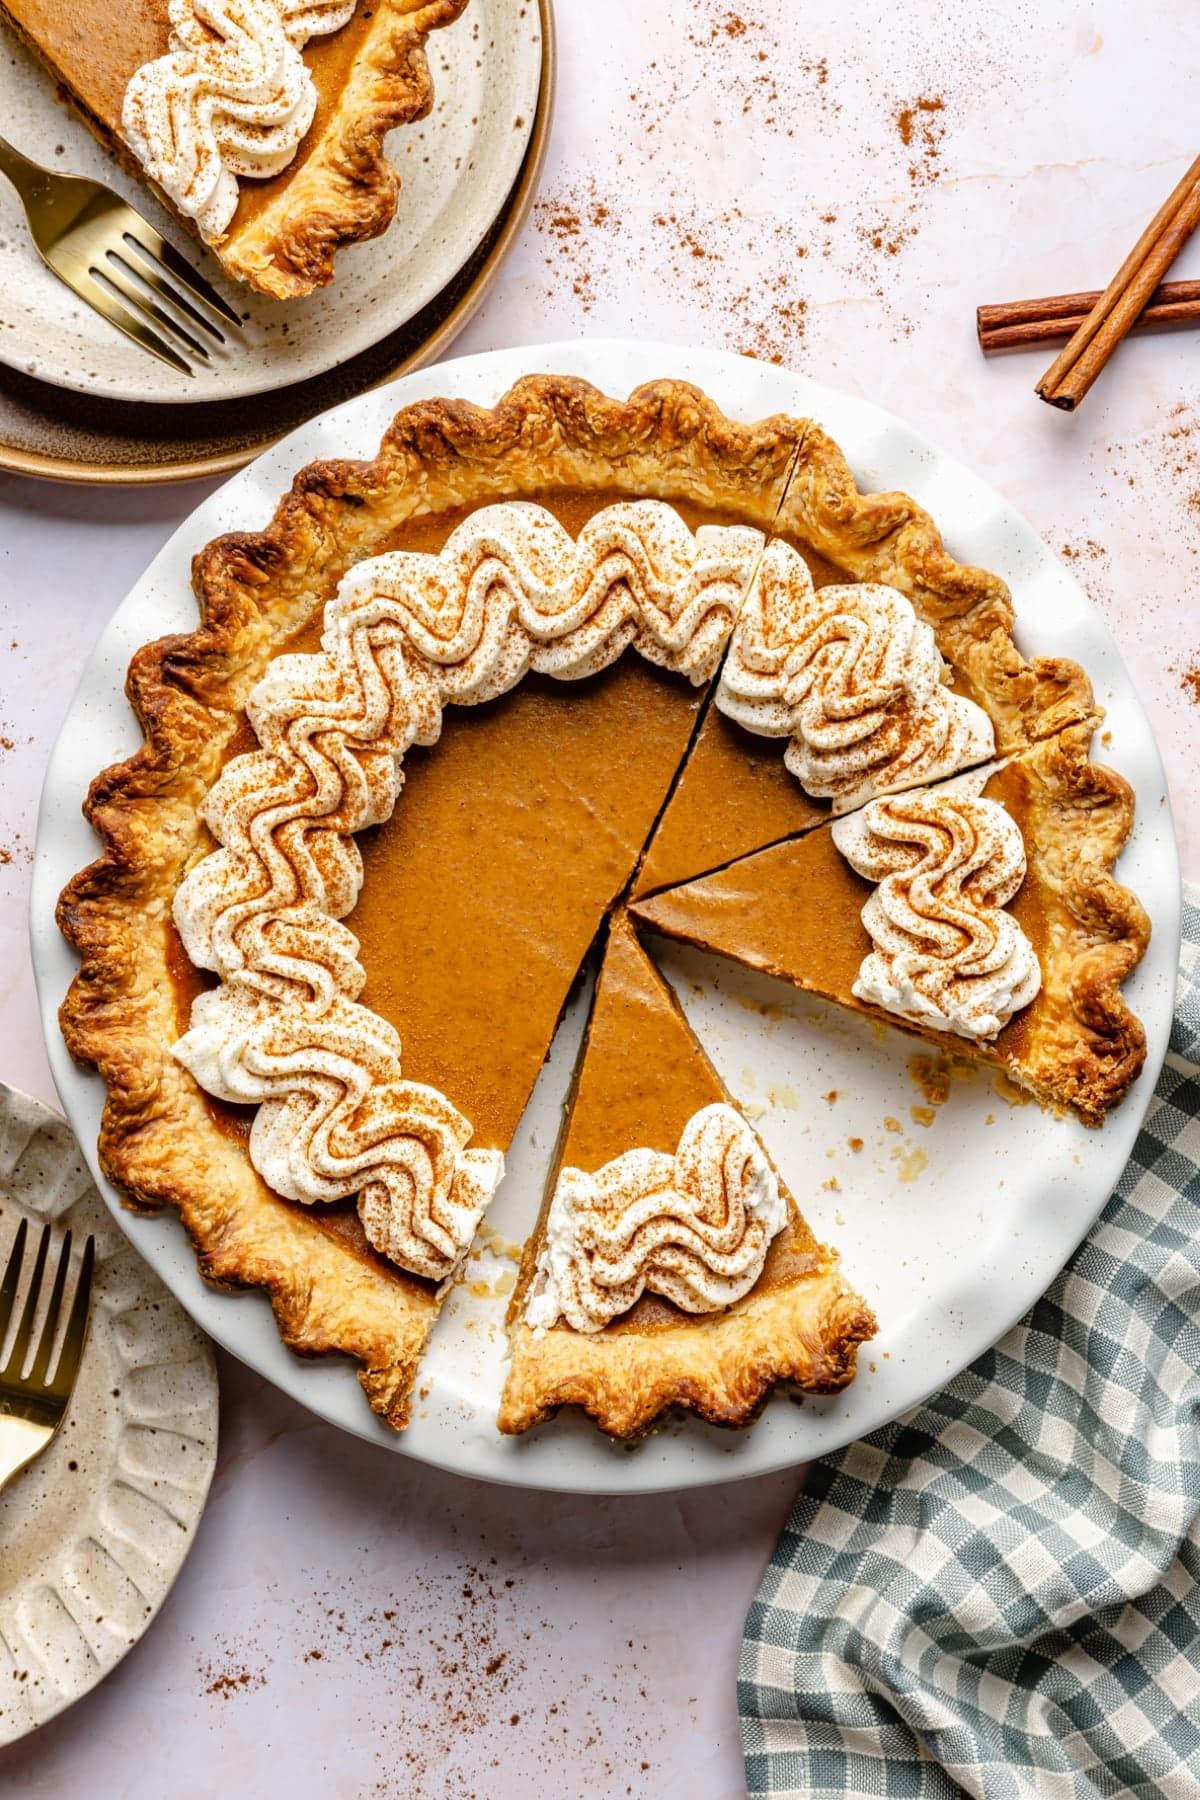
- Cool: Remove the pumpkin pie from the oven and transfer it to a wire rack to cool completely. Store in the refrigerator. Serve with whipped cream, vanilla ice cream, or a drizzle of caramel and flaky sea salt.
Recipe Tips
- Use canned full-fat coconut milk. For the richest, creamiest filling, use full-fat canned coconut milk, not coconut milk from a carton. Give the can a good shake or mix with a hand mixer before measuring.
- Save time with a pre-made crust. I love using the Wholly Wholesome Gluten Free Pie Crust. It makes this recipe incredibly easy to throw together, especially during the holidays!
- Don’t overbake the pie. The edges should be set, but the center should still have a slight jiggle when you gently shake the pan. The filling will continue to set as it cools.
- Protect the crust. If the edges of your pie crust start browning too quickly, loosely cover them with aluminum foil or use a pie crust shield.
- Make it ahead of time. Pumpkin pie is even better the next day! I typically bake mine the day before Thanksgiving, let it cool, then refrigerate it overnight. This gives the filling plenty of time to set and makes holiday prep easier.
- Let it chill before slicing. For clean, beautiful slices, refrigerate the pie for at least 4 hours after it cools. Use a sharp knife and wipe it clean between slices.
Toppings
Pumpkin pie made with healthier ingredients is still absolutely delicious on its own, but adding a little something on top makes it even better! Here are a few of my favorite ways to serve it:
- Whipped cream: You can’t go wrong with a generous dollop of whipped cream! Use coconut whipped cream to keep it dairy free.
- Vanilla ice cream: Serve a slice with a scoop of vanilla ice cream for an extra special treat.
- Caramel sauce: Drizzle a little easy dairy free caramel sauce over the top and finish with flaky sea salt. SO good!
- Chopped pecans: Sprinkle toasted, chopped pecans on top for a little crunch and nutty flavor.
- Cinnamon: Add a light dusting of cinnamon or pumpkin pie spice over whipped cream for a simple finishing touch.
FAQs
Can I make pumpkin pie ahead of time?
Yes! I actually prefer making pumpkin pie the day before serving it. Let it cool completely at room temperature, then cover and refrigerate overnight. This also makes Thanksgiving Day a little easier!
Do I serve it room temperature or chilled?
Either! Pumpkin pie can be served at room temperature or chilled. I personally prefer it chilled, so I usually make it the day before and refrigerate it overnight.
How do I know when pumpkin pie is done?
The edges should look set, while the center should still have a slight jiggle when you gently move the pie. The filling will continue to set as it cools. Depending on your crust and pie pan, this usually takes 50–60 minutes.
Can I use dairy free milk?
Full-fat canned coconut milk works best because it gives the filling a rich, creamy texture. Other dairy free milks are thinner and will change the consistency and flavor of the filling. Coconut milk tastes more like a thick cream, less like almond, soy, or coconut milk in a carton.
Storage
To store: Let the pumpkin pie cool completely, then cover it tightly with storage wrap or foil and store it in the refrigerator for up to 4 days. You can serve it chilled or let it sit at room temperature for 20–30 minutes before serving.
To freeze: Pumpkin pie freezes beautifully! Once completely chilled, place a round piece of parchment paper on top of the pie, then wrap it tightly in storage wrap, then aluminum foil to prevent freezer burn. Freeze for up to 3 months. Thaw overnight in the refrigerator before serving.
To make ahead: This is one of my favorite desserts to make ahead for Thanksgiving! Bake the pie 1–2 days in advance, let it cool, and refrigerate until you’re ready to serve. Just add your favorite toppings right before serving.
More Healthy Recipes
- Healthy Sweet Potato Casserole
- Healthy Pumpkin Bars
- Pumpkin Protein Balls
- Healthy Apple Pie Bars
- Pumpkin Protein Muffins
Healthy Pumpkin Pie
This easy healthy pumpkin pie recipe is even better than the traditional version! The filling is rich, creamy, and naturally sweetened with maple syrup. Serve with a dollop of whipped cream for the most delicious Thanksgiving dessert!
Prep: 5Cook: 60Total: 1 hour 5 minutes
Servings: 8 1x
Ingredients
- 1 (15-ounce) can pumpkin puree
- 3 eggs
- ½ cup pure maple syrup
- ⅓ cup canned full fat coconut milk
- 1 teaspoon vanilla extract
- 1 tablespoon pumpkin pie spice
- 1 teaspoon cinnamon
- ¼ teaspoon salt
- 1 9-inch pie crust
Instructions
- Prep: Preheat the oven to 350°F. Place the prepared pie crust on a baking sheet to make it easier to transfer in and out of the oven.
- Make the pumpkin pie filling: Add the pumpkin puree, eggs, maple syrup, coconut milk, vanilla extract, pumpkin pie spice, cinnamon, and salt to a large mixing bowl. Mix until smooth and well combined.
- Fill the pie crust: Pour the pumpkin pie filling into the prepared crust and gently smooth the top.
- Bake: Bake for 50–60 minutes, or until the edges are set and the center is mostly set with just a slight jiggle. Baking time can vary depending on the pie crust and pan, so begin checking the pie around 50 minutes.
- Cool: Remove the pumpkin pie from the oven and transfer it to a wire rack to cool completely. Store in the refrigerator. Serve with whipped cream, vanilla ice cream, or a drizzle of caramel and flaky sea salt.
Notes
- I use the pre-made Wholly Wholesome Gluten Free Pie Crust for this recipe.
- Be sure to use full-fat canned coconut milk for the best texture. It gives the pumpkin pie filling a rich, creamy consistency without heavy cream.
- Let the pie cool completely before serving. I usually bake mine the day before, let it cool at room temperature for a few hours, then refrigerate it overnight. It’s an easy way to save time on Thanksgiving Day!
- Pumpkin pie freezes well! Once completely chilled, cover the pie tightly with aluminum foil and freeze for up to 3 months. Thaw overnight, or for at least 12 hours, in the refrigerator before serving.
Recipe by: Noelle Tarr and Kelsey Hite / Coconuts and Kettlebells | Photography by: Sasha Hooper / Sasha Hooper


 Leave a Comment!