This post may contain affiliate links. Please read our disclosure policy.
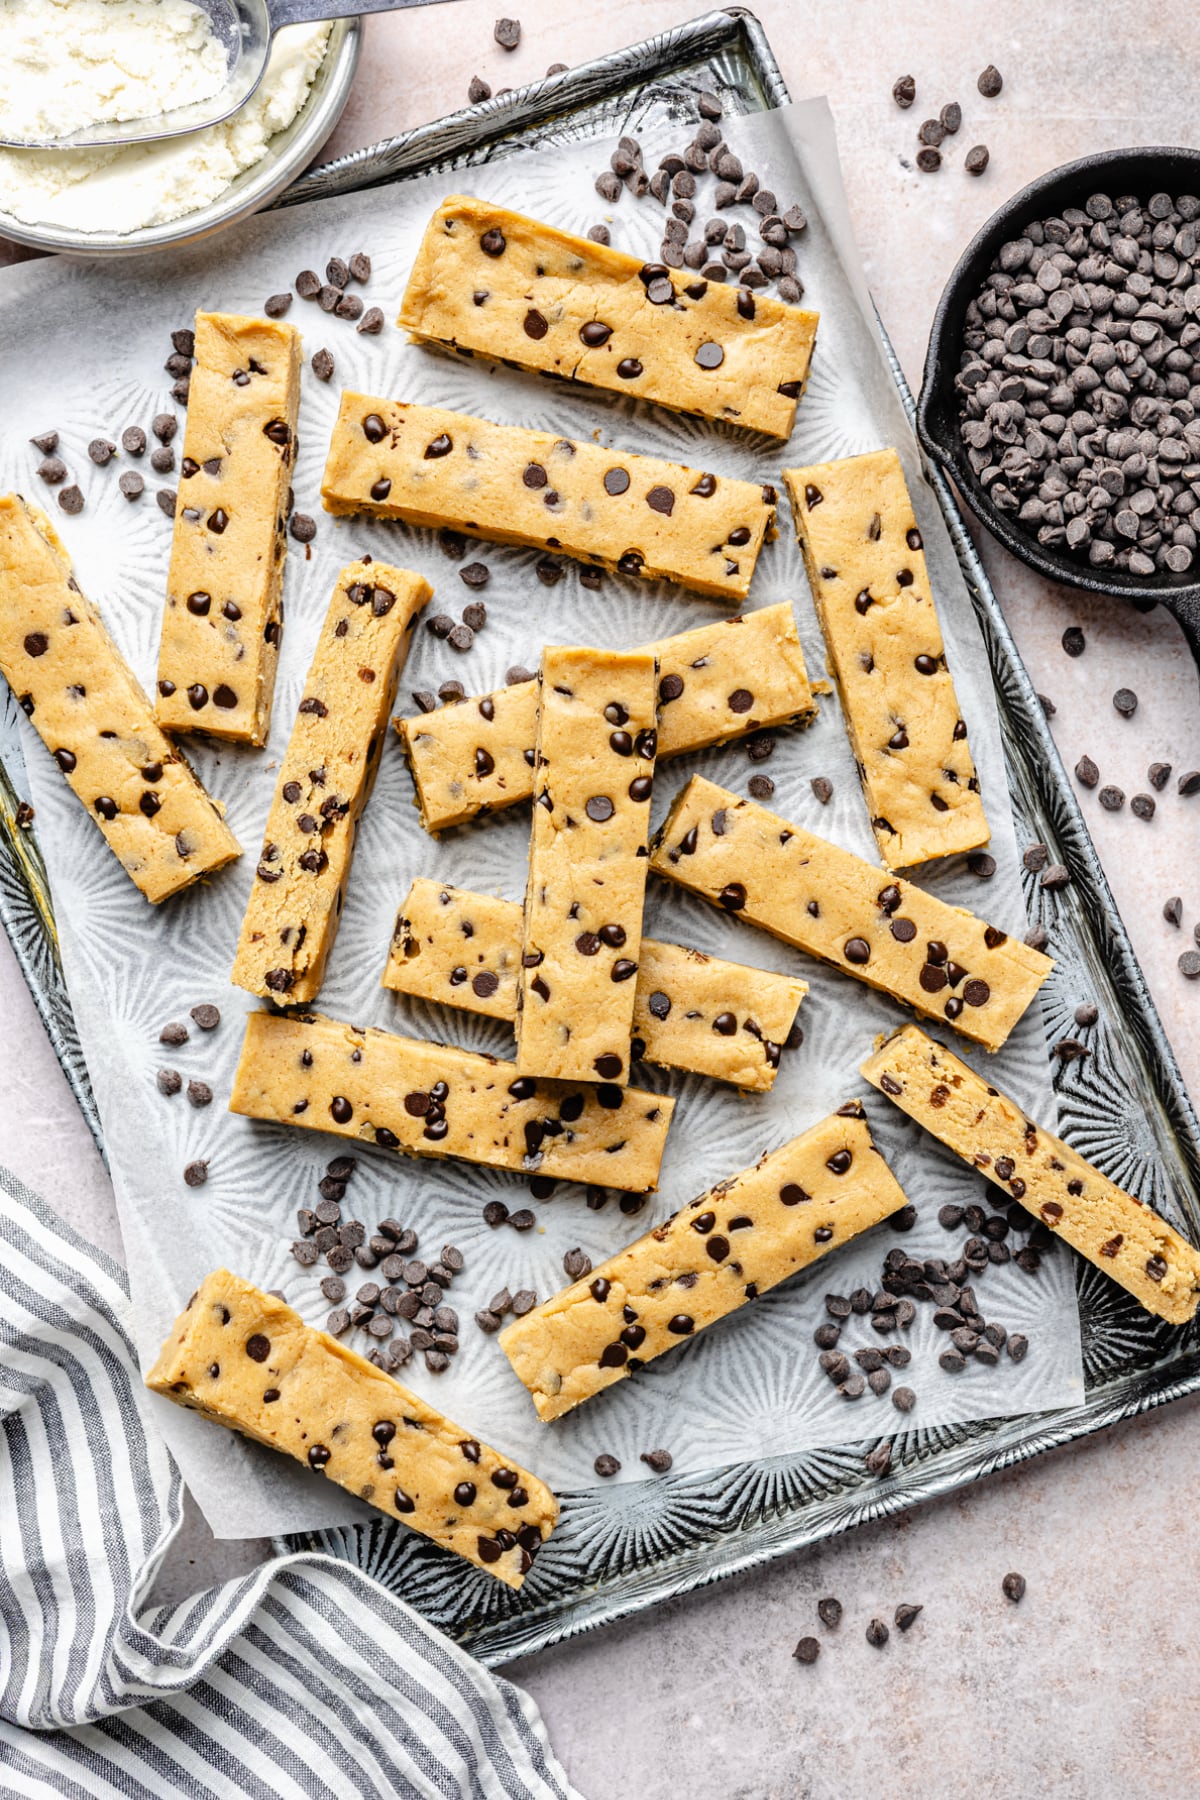
These homemade protein bars are made with simple ingredients and come together in minutes. They’re incredibly delicious, satisfying, and way better than store-bought bars. Make a batch and keep them in the fridge for a quick and easy protein snack!
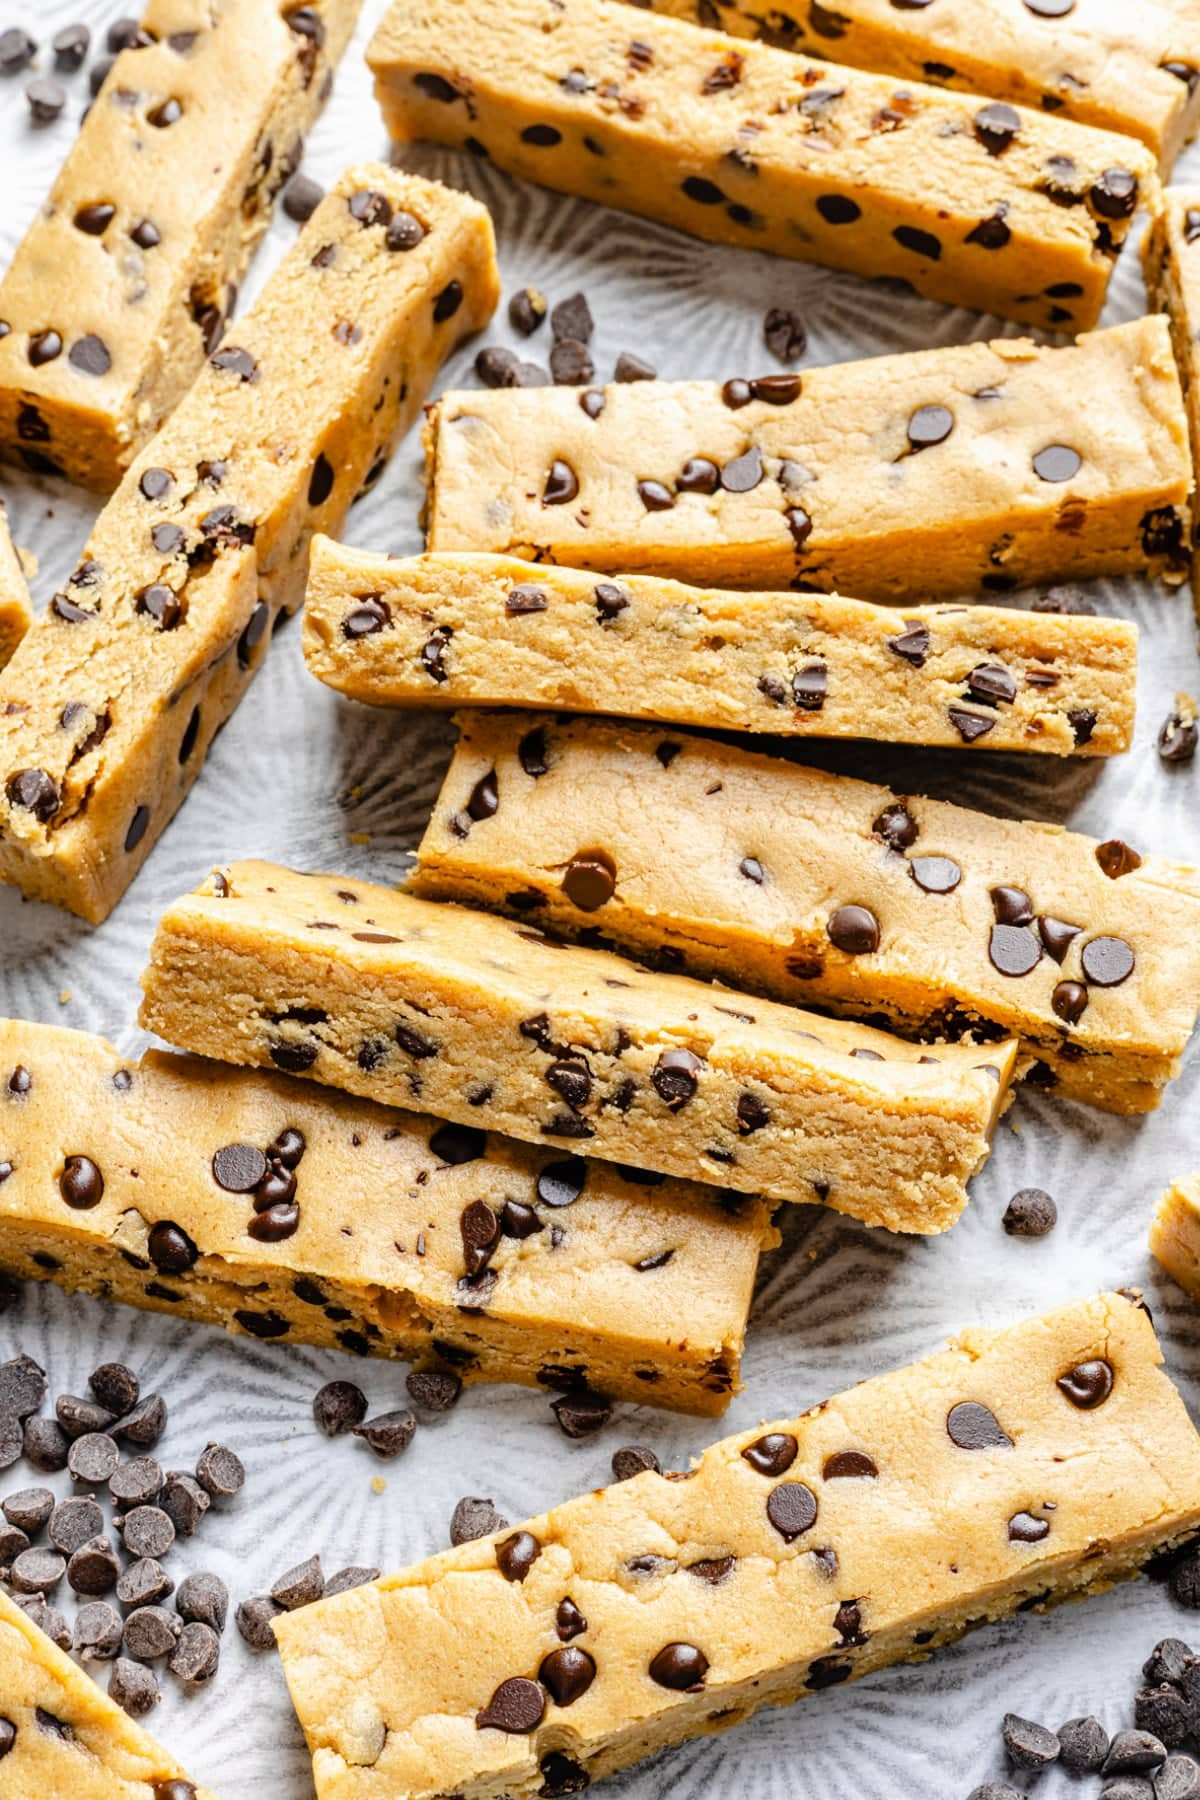
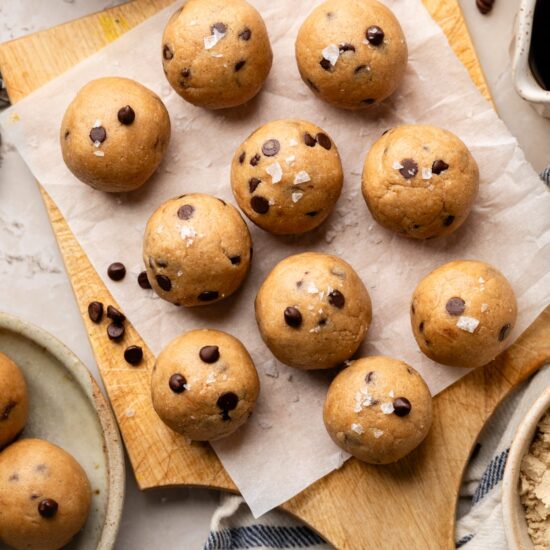
These homemade protein bars were inspired by my favorite cookie dough protein balls. I wanted to create a delicious refrigerated no-bake protein bar that tastes like cookie dough but is structured and firm enough to cut into bars. After plenty of testing, I finally landed on the perfect protein bar recipe.
Truthfully, it’s rare for a week to go by without a batch of these homemade protein bars in our fridge. I usually grab one after my morning workout, and my kids love them as a quick snack before or after sports.
Unlike a lot of store-bought protein bars, these are made with simple, real food ingredients. They’re firm, chewy, naturally sweetened, and packed with protein to help keep you full. Best of all, they come together in just a few minutes. Double the batch and freeze the extras—they disappear fast!
Jump to:
Key Ingredients
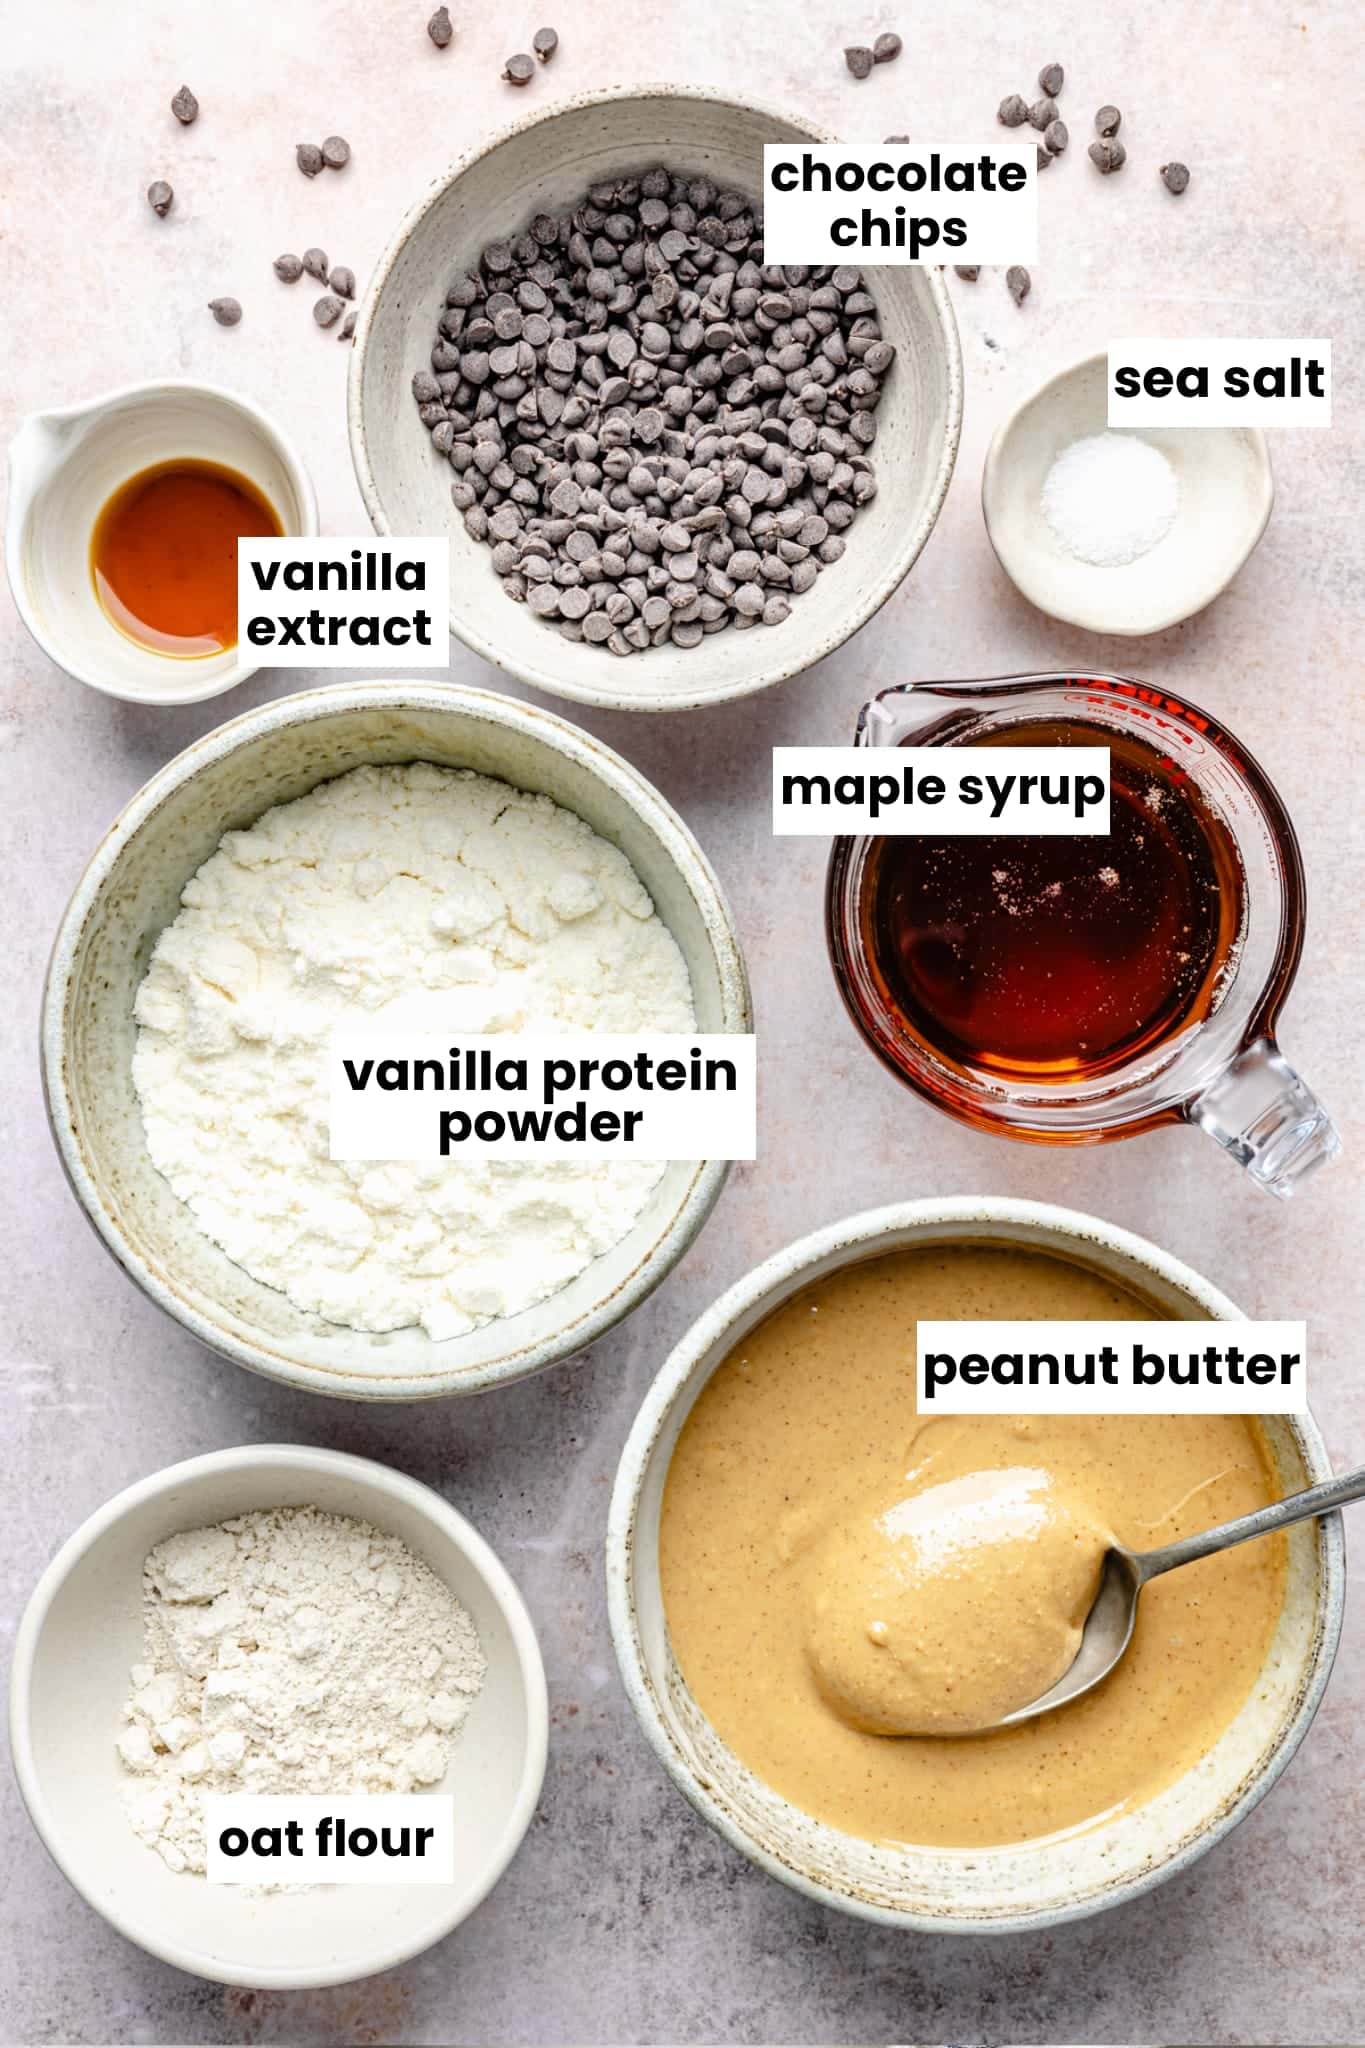
- Peanut butter: Use a drippy, natural peanut butter made with just peanuts and salt. It creates the best texture and helps hold the bars together. Regular peanut butter will work, but the bars will be firmer.
- Vanilla protein powder: Choose a protein powder you enjoy the flavor of since it’s a key ingredient. Whey protein powder creates the softest texture, while plant-based powders may produce a slightly drier bar. You can use collagen or grass-fed beef protein, however the bars will be a bit sticky.
- Maple syrup: Choose a pure dark maple syrup for the best flavor.
- Oat flour: Oat flour is great at absorbing moisture and gives the bars structure. Make sure to measure carefully—a small amount makes a big difference. You can make your own by blending rolled oats into a fine flour. See how to make your own oat flour here.
- Vanilla extract: This is the secret ingredient that so many homemade recipes leave out! It gives the bars the perfect vanilla flavor and makes them taste just like cookie dough.
- Mini chocolate chips: Completely optional, but they add a nice little taste of chocolate in every bite. And it makes the bars taste just like cookies.
See recipe card for full information on ingredients and quantities.
Variations
Want to make this your own? Here are some quick and easy shifts you can make:
- Change the nut butter: Not into peanut butter? Use another natural nut butter like almond butter or cashew butter. Note that peanuts have slightly more protein than other nuts, so the nutrition facts will vary slightly.
- Add a layer of chocolate: Melt the chocolate chips with a teaspoon of coconut oil and pour overtop of the finish bars in the pan for a chocolate coating. Sprinkle with flaky sea salt or crushed pistachios for a nice crunch. Chill the bars for 30-60 minutes before cutting into bars.
- Out of maple syrup? Swap out the maple syrup for honey. It will make the bars slightly sweeter and stickier.
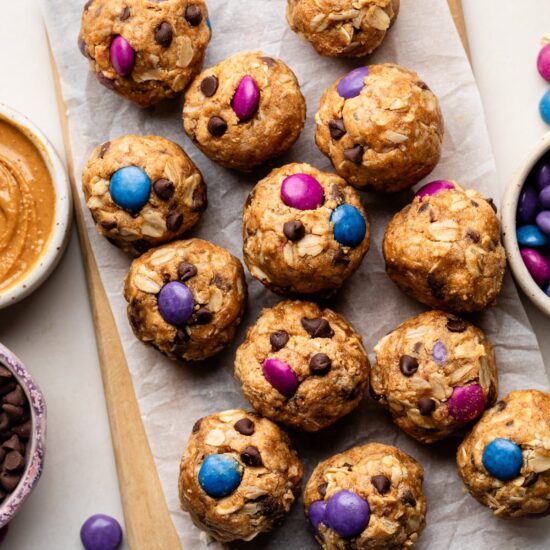
- Love monster cookies? Use your favorite chocolate candies instead of chocolate chips. Or, make my monster cookie protein balls!
How to Make Homemade Protein Bars
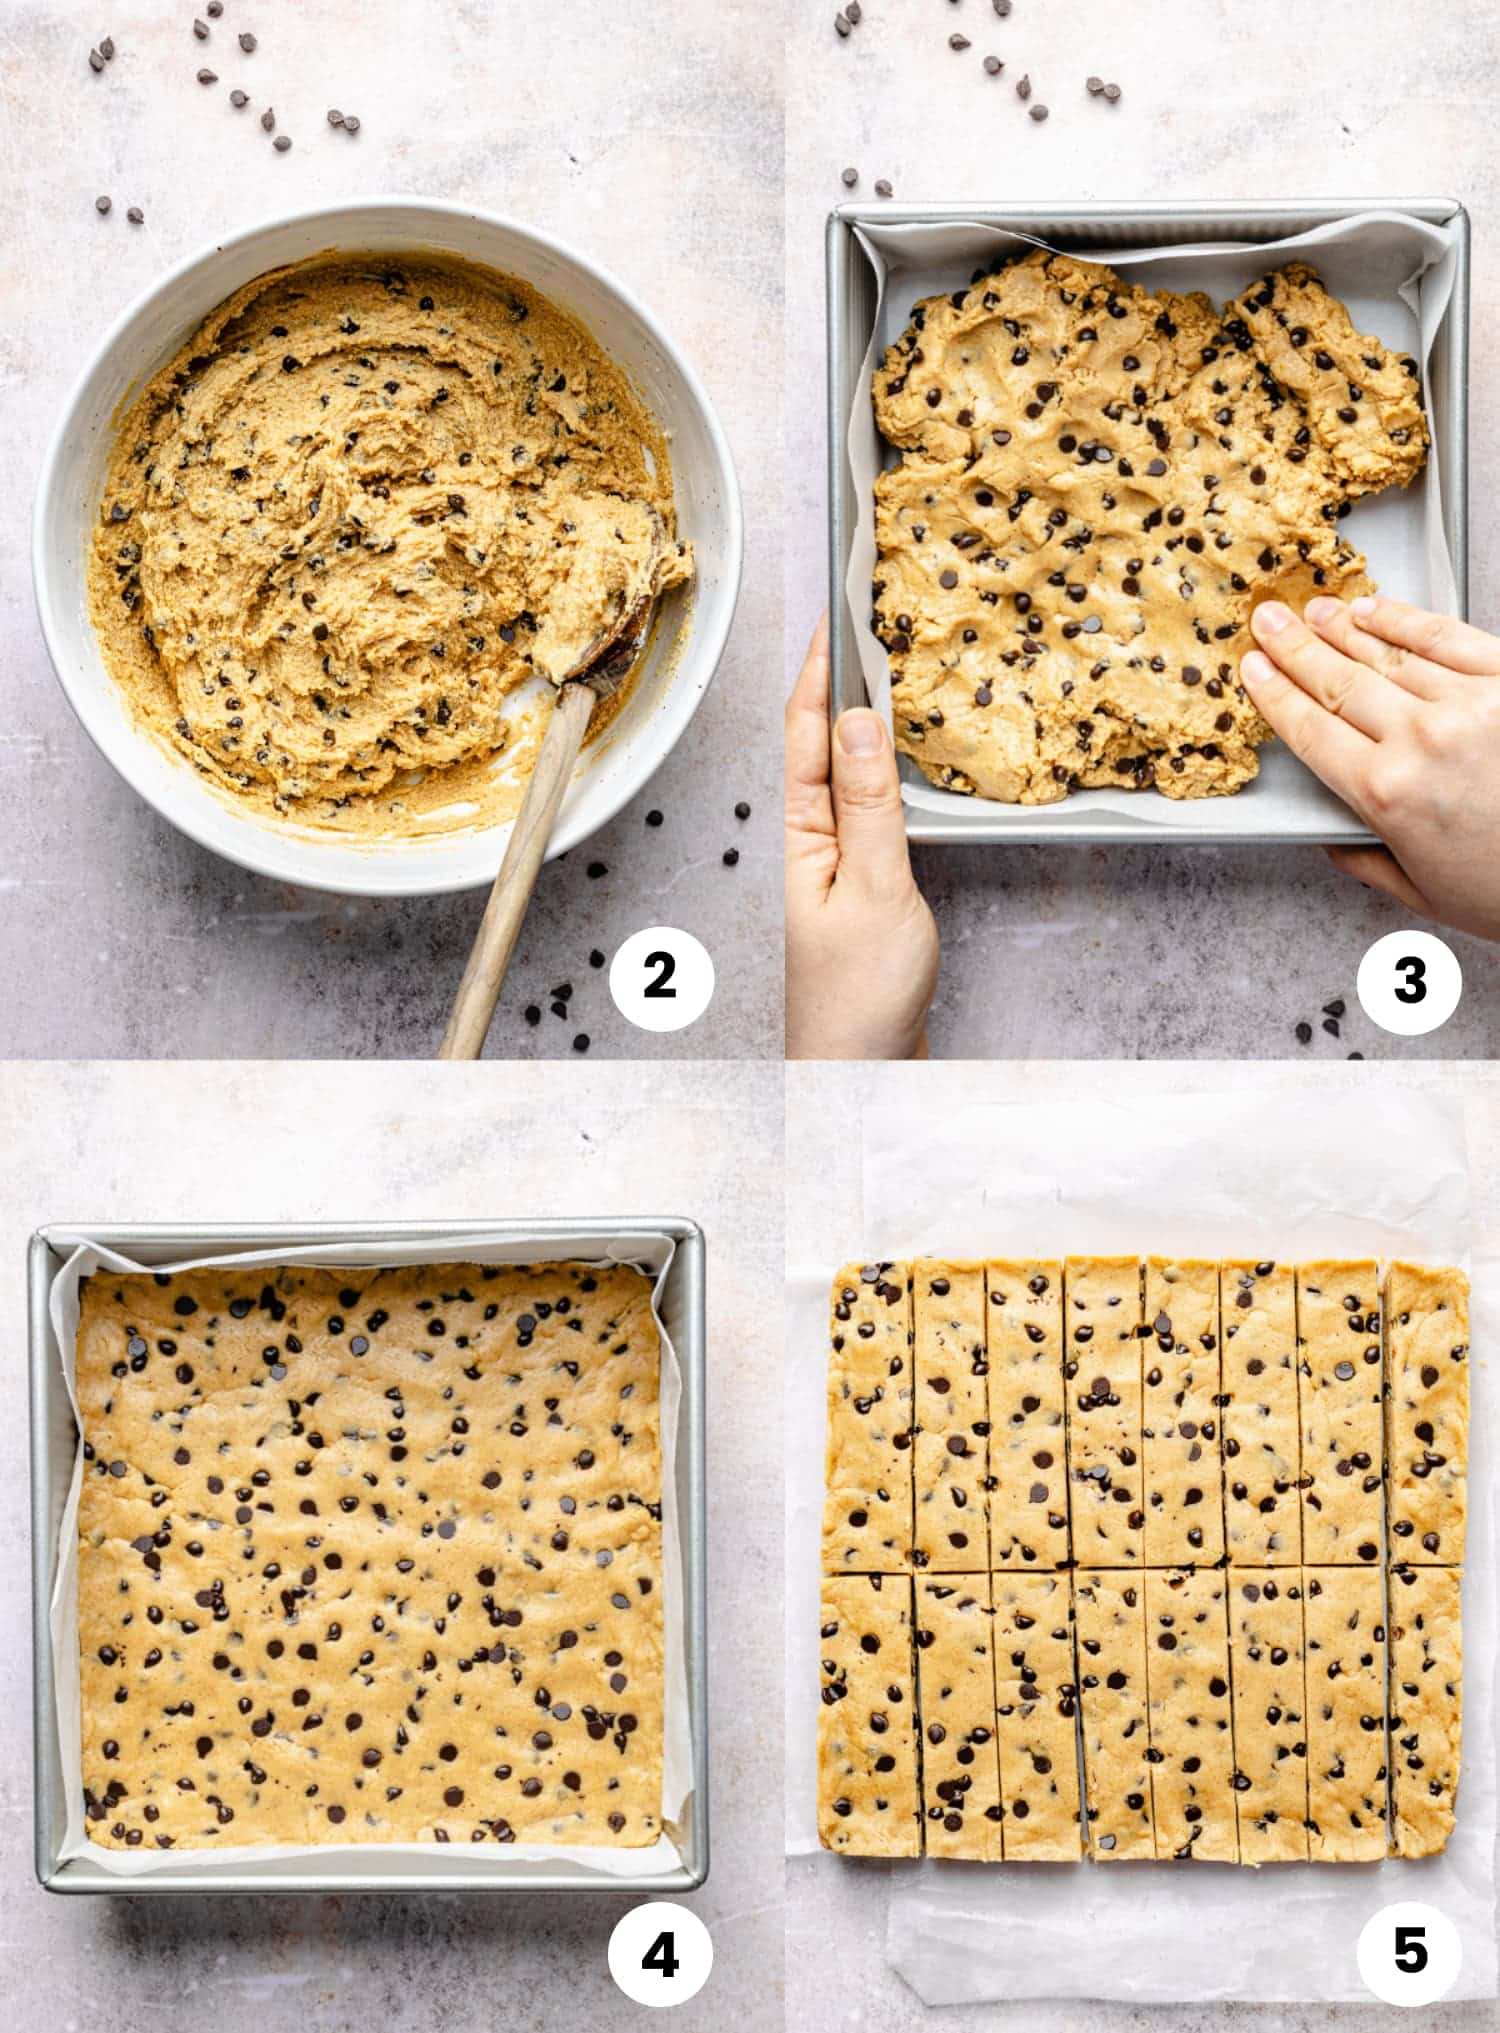
- Prep: Line a square baking pan with parchment paper. Both 8×8 and 9×9 work great.
- Mix: In a medium bowl, mix together the peanut butter, maple syrup, oat flour, protein powder, vanilla extract, salt, and chocolate chips until combined. The dough should be thick.
- Transfer: Press the mixture in the prepared baking pan. Spread the mixture into an even layer using a thick rubber spatula or your hands.
- Chill: Place the bars in the refrigerator to chill for at least 30 minutes.
- Slice: Lift the parchment paper to remove the bars from the pan. Slice into 16 even bars or squares. Store in an airtight container in the fridge for up to 2 weeks.

Recipe Tips
- Adjust the texture if needed. Protein powders vary quite a bit. If the mixture feels too dry or crumbly, add 1-2 teaspoons of water or a little extra peanut butter. If it’s too sticky, mix in another tablespoon of oat flour.
- Line the pan with parchment paper. Leave some overhang on the sides so you can easily lift the bars out before slicing.
- Press the mixture down firmly. Use a rubber spatula or slightly damp hands to press the mixture into an even, compact layer. This helps the bars hold together.
- Chill before slicing. Refrigerate the bars for at least 30 minutes before cutting them into squares or rectangles.
- Customize the mix-ins. Stir in chopped nuts, chopped dried fruit, chocolate chips, or leave them plain!
- Double the batch. These bars store well, so making two batches is an easy way to have protein snacks on hand for weeks. For two batches, use two square baking pans, or a 9×13 pan and a bread pan.
FAQs
Can I use a different nut butter?
Yes. Almond butter or cashew butter both work well. Just make sure you use a natural nut butter that needs to be stirred.
What’s the best protein powder for homemade protein bars?
A vanilla whey protein powder will give the bars the best texture and flavor. Plant-based protein powders can work too, but they tend to absorb more moisture and may make the bars drier.
My protein bars are dry. What can I do?
Protein powders vary a lot in absorbency. If your mixture feels too dry or crumbly, add a small splash of water or a little extra maple syrup until the dough comes together.
How much protein is in each bar?
This can vary slightly depending on the protein powder you use. Each bar has about 10–12 grams of protein per bar.
Can kids eat these protein bars?
Yes! My kids love them after school, or as a pre or post-activity snack.
Are these a replacement for Perfect Bar?
They definitely can be! These homemade protein bars have a similar soft, chewy texture and need to be stored in the refrigerator, just like Perfect Bars. They also have a comparable protein-to-calorie ratio, but they’re made with just seven simple ingredients.
Storage
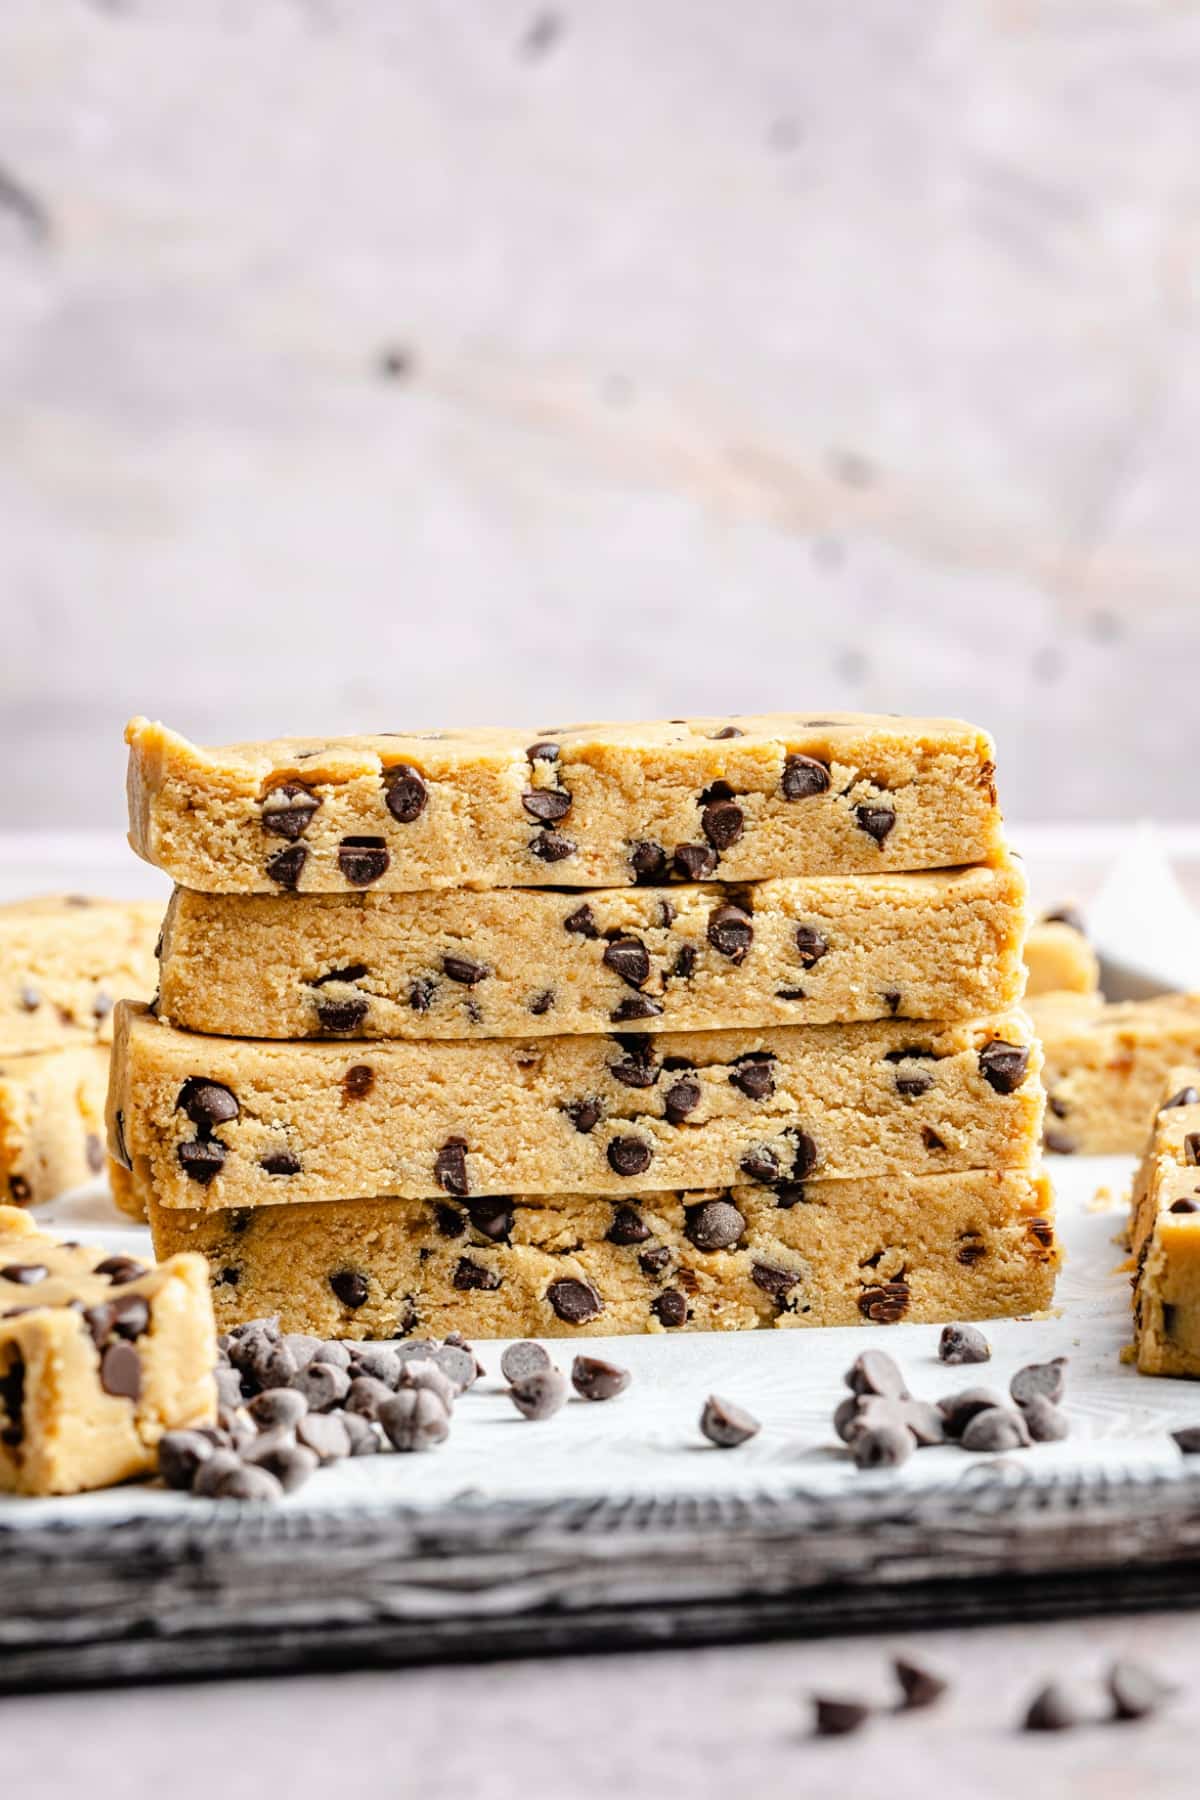
STORE: One of the best things about making protein bars homemade is how well they store! I usually cut them into bars and leave them right in the pan so the kids and I can easily grab one from the fridge whenever we need a quick snack. You can also transfer them to an airtight container or zip-top bag. They’ll keep in the refrigerator for up to 2 weeks.
FREEZE: For longer storage, freeze them in a freezer-safe container or bag for up to 3 months. If stacking the bars, place a piece of parchment paper between each layer to prevent them from sticking together. Let frozen bars thaw for 10–15 minutes at room temperature before enjoying.
More Protein Recipes
- Cookie Dough Protein Balls
- Monster Cookie Protein Balls
- Pumpkin Protein Balls
- Protein Banana Muffins
- Protein Mug Cake
Homemade Protein Bars
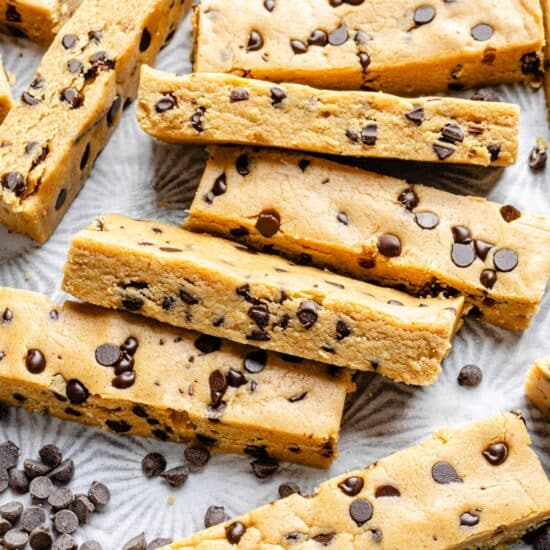
These homemade protein bars are made with simple ingredients and come together in minutes. They’re incredibly delicious, satisfying, and way better than store-bought bars. Make a batch and keep them in the fridge for a quick and easy protein snack!
Prep: 10Total: 10 minutes
Servings: 16 1x
Ingredients
- 1 ⅓ cups natural, creamy peanut butter
- 2/3 cup pure maple syrup
- 3 tablespoons oat flour
- 1 cup vanilla protein powder
- 1 teaspoon vanilla extract
- ¼ teaspoon salt
- 1/2 cup mini chocolate chips, optional
Instructions
- Prep: Line a square baking pan with parchment paper. Both 8×8 and 9×9 work great.
- Mix: In a medium bowl, mix together the peanut butter, maple syrup, oat flour, protein powder, vanilla extract, salt, and chocolate chips until combined. The dough should be thick.
- Transfer: Press the mixture in the prepared baking pan. Spread the mixture into an even layer using a thick rubber spatula or your hands.
- Chill: Place the bars in the refrigerator to chill for at least 30 minutes.
- Slice: Lift the parchment paper to remove the bars from the pan. Slice into 16 even bars or squares. Store in an airtight container in the fridge for up to 2 weeks.
Notes
- Drippy, natural peanut butter works best for this recipe. It helps the ingredients stick together and creates a soft, sturdy bar that isn’t too dry.
- These bars are easy to customize depending on your preferred texture. Add a little more oat flour for a firmer, more solid bar, or a small splash of water to soften them up.
- Chocolate Option: You can either mix the chocolate chips directly into the dough, or melt them and pour the chocolate over the top for a chocolate layer. To make the topping, add the chocolate chips and 1 teaspoon coconut oil to a microwave-safe bowl. Microwave in 10-second increments, stirring between each, until smooth and melted. Pour the chocolate over the bars and spread into an even layer. Chill the bars for 30 minutes before cutting into squares. Store in an airtight container in the fridge for up to 2 weeks.
Recipe by: Noelle Tarr and Kelsey Hite / Coconuts and Kettlebells | Photography by: Sasha Hooper / Sasha Hooper

Brenna says
These look amazing! Do you think any grain free flours would work? I noticed they are not nut free however your recipe key at the very top shows the nut free circle symbol. 😉
Vicki says
I added some cacao powder to make them more chocolatey and they were a big hit!
Noelle Tarr, NTP, CPT says
Yum!! Sounds delicious. So glad you loved them.